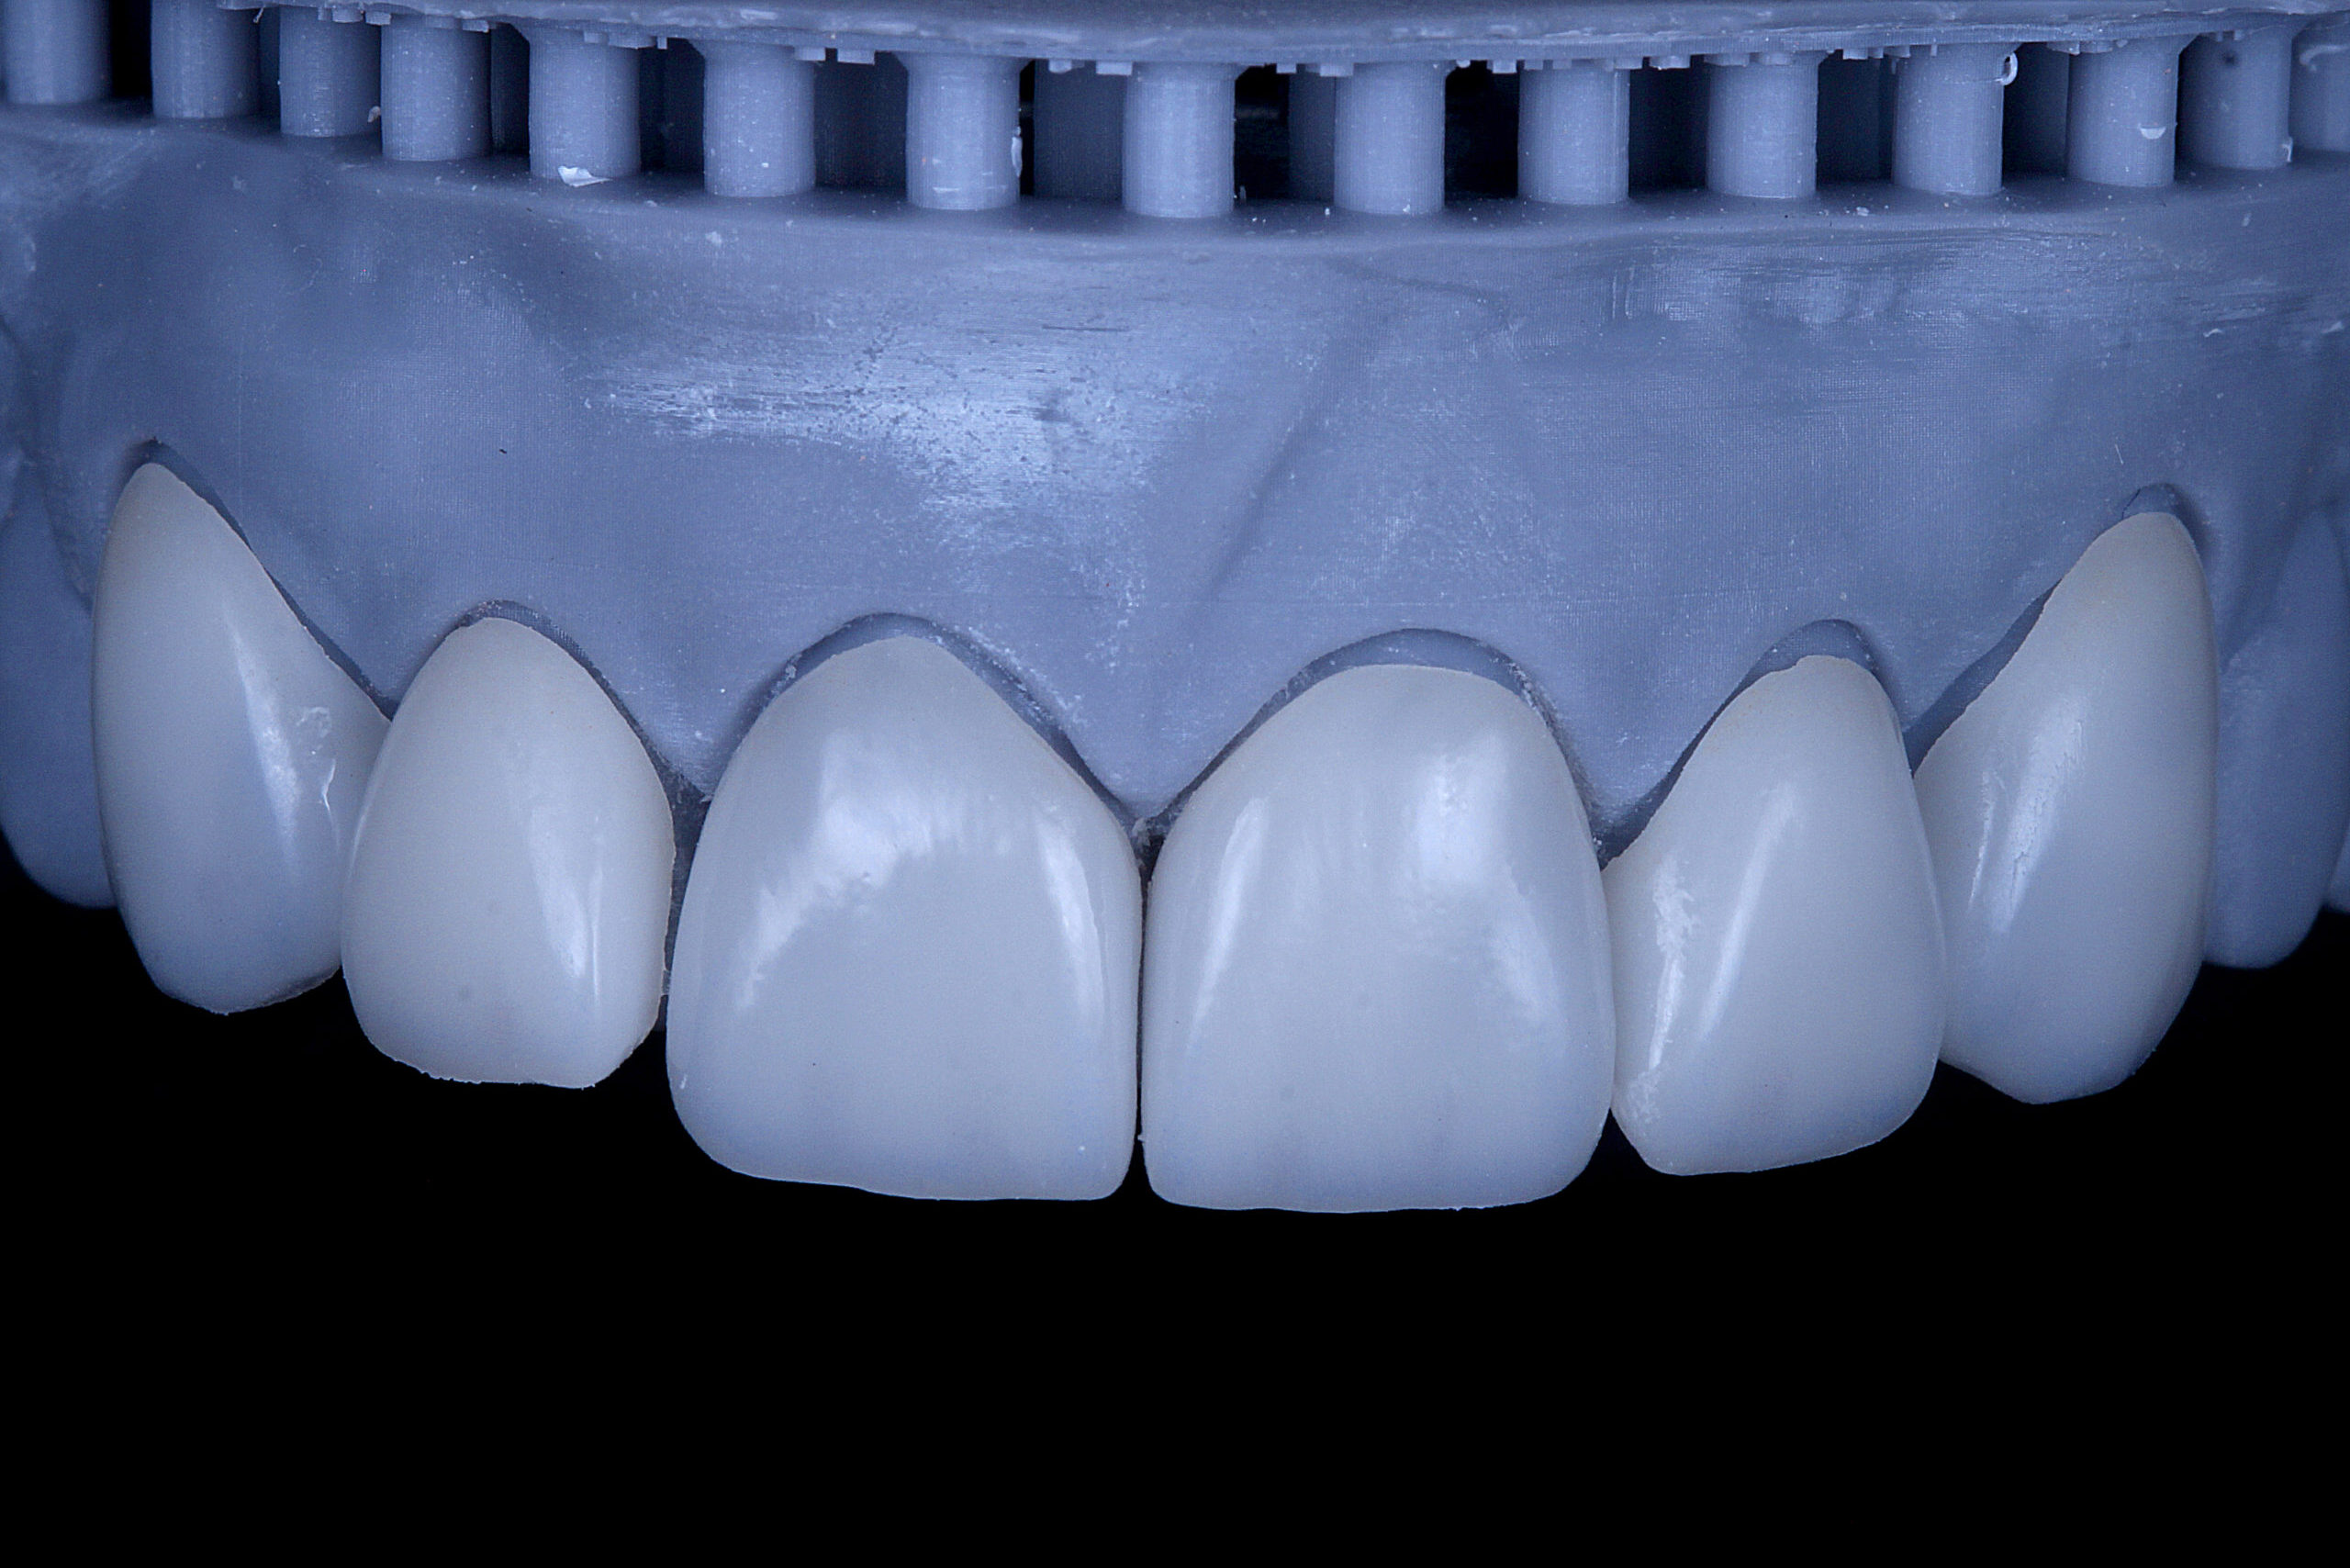
In this clinical case we will report the replacement of deficient composite resin veneers with ceramic laminates, using the adhesive Ambar APS, Allcem Veneer Try In, Condac 37% and Primmart.
Authors: Dr. Raphael Monte Alto, Dra. Helena Laskawski Klemba, Dr. Renato Voss Rosa, Dr. Kler Bassan Abdallah e TPD Miguel Abrão
37-year-old female patient.
Chief complaint: Patient was dissatisfied with the shape and color of the composite resin veneers
Initial evaluation
The patient underwent a detailed anamnesis and clinical examination, no pathological changes were observed. During the clinical examination, the integrity of the periodontal tissues was observed, as well as the absence of carious lesions, both in the anterior and posterior teeth. The patient had deficient composite veneers, with cervical excesses and proximal staining
Treatment performed with ceramic laminates
Initially, a facial and intraoral photographic protocol was performed. The arches were scanned and the .stl file sent to the laboratory along with the photos for planning. A video, showing the planning, was shared by the laboratory and the new project approved by the team and the patient. The .stl file, with the wax-up, was printed and a heavy and light addition silicone guide made.
The first mockup was made with PrimmaArt bisacrylic resin shade B1, in order to evaluate in the new format. After approval, the composite veneers were removed with the aid of number 12 scalpel blades, sandpaper discs, fine diamond tips and silicone tips. Without the composites, a new mockup was made, so as to confirm the new format and guide the conservative preparations, which were scanned and sent to the laboratory, along with the selection of tooth shade and substrate.
Veneers were made in Lithium disilicate in BL3 shade. The veneers were first tested dry and then with Allcem Veneer Try-in cement, E-Bleach shade. For cementation, absolute isolation was done and two teeth were cemented at a time. First the two central ones and then the lateral and left and right canines respectively.
For cementation, the teeth were etched with phosphoric acid (Condac 37) for 15 seconds, followed by application of Ambar APS adhesive. The adhesive was not polymerized and Allcem Veneer APS cement was placed inside the piece and placed over the preparations. Excesses were removed using a brush and dental floss. With a high-intensity photoactivator, the veneers were polymerized for 40 seconds on each side.
Step by step

1 | Initial aspect.

2 | Old cmposites with shape alteration and margin staining.

3 | Planning carried out by the laboratory.

4 | Printed model and silicone guide.

5 | PrimmaArt composite to produce mockup

6 | First mockup executed.

7 | Removal of old composites.

8 | Clinical appearance after composite removal.

9 | Mockup in mouth.

10 | Preparations ready.

11 | Lithium disilicate veneers E.max CAD BL3.

12 | Testing in mouth.

13 | Test with Allcem Veneer Try-in EBL.

14 | Aspect immediately after cementation.

15 | Final aspect after 15 days.

16 | Final aspect.
Click here and learn more about the Allcem Veneer Try In cement that transformed that smile!


