In this clinical case, we will report whitening with Whiteness Perfect for the restoration of patients with incisal edges.
Author: Dr. Jon Gurrea
44-year-old female patient
Chief Complaint: Undesired shade and fractured incisal edges after performing orthodontic treatment.
Initial evaluation
The patient had a 2M2-2M3 shade of the Vita 3D Master guide and fractures of the incisal edges caused by harmful habits.
Treatment performed with Whiteness Perfect
Whitening was done with Whiteness Perfect 16% and restoration of the incisal edges with Vittra APS Unique composite to simplify the restorative process and the choice of shaded masses.
Step by step
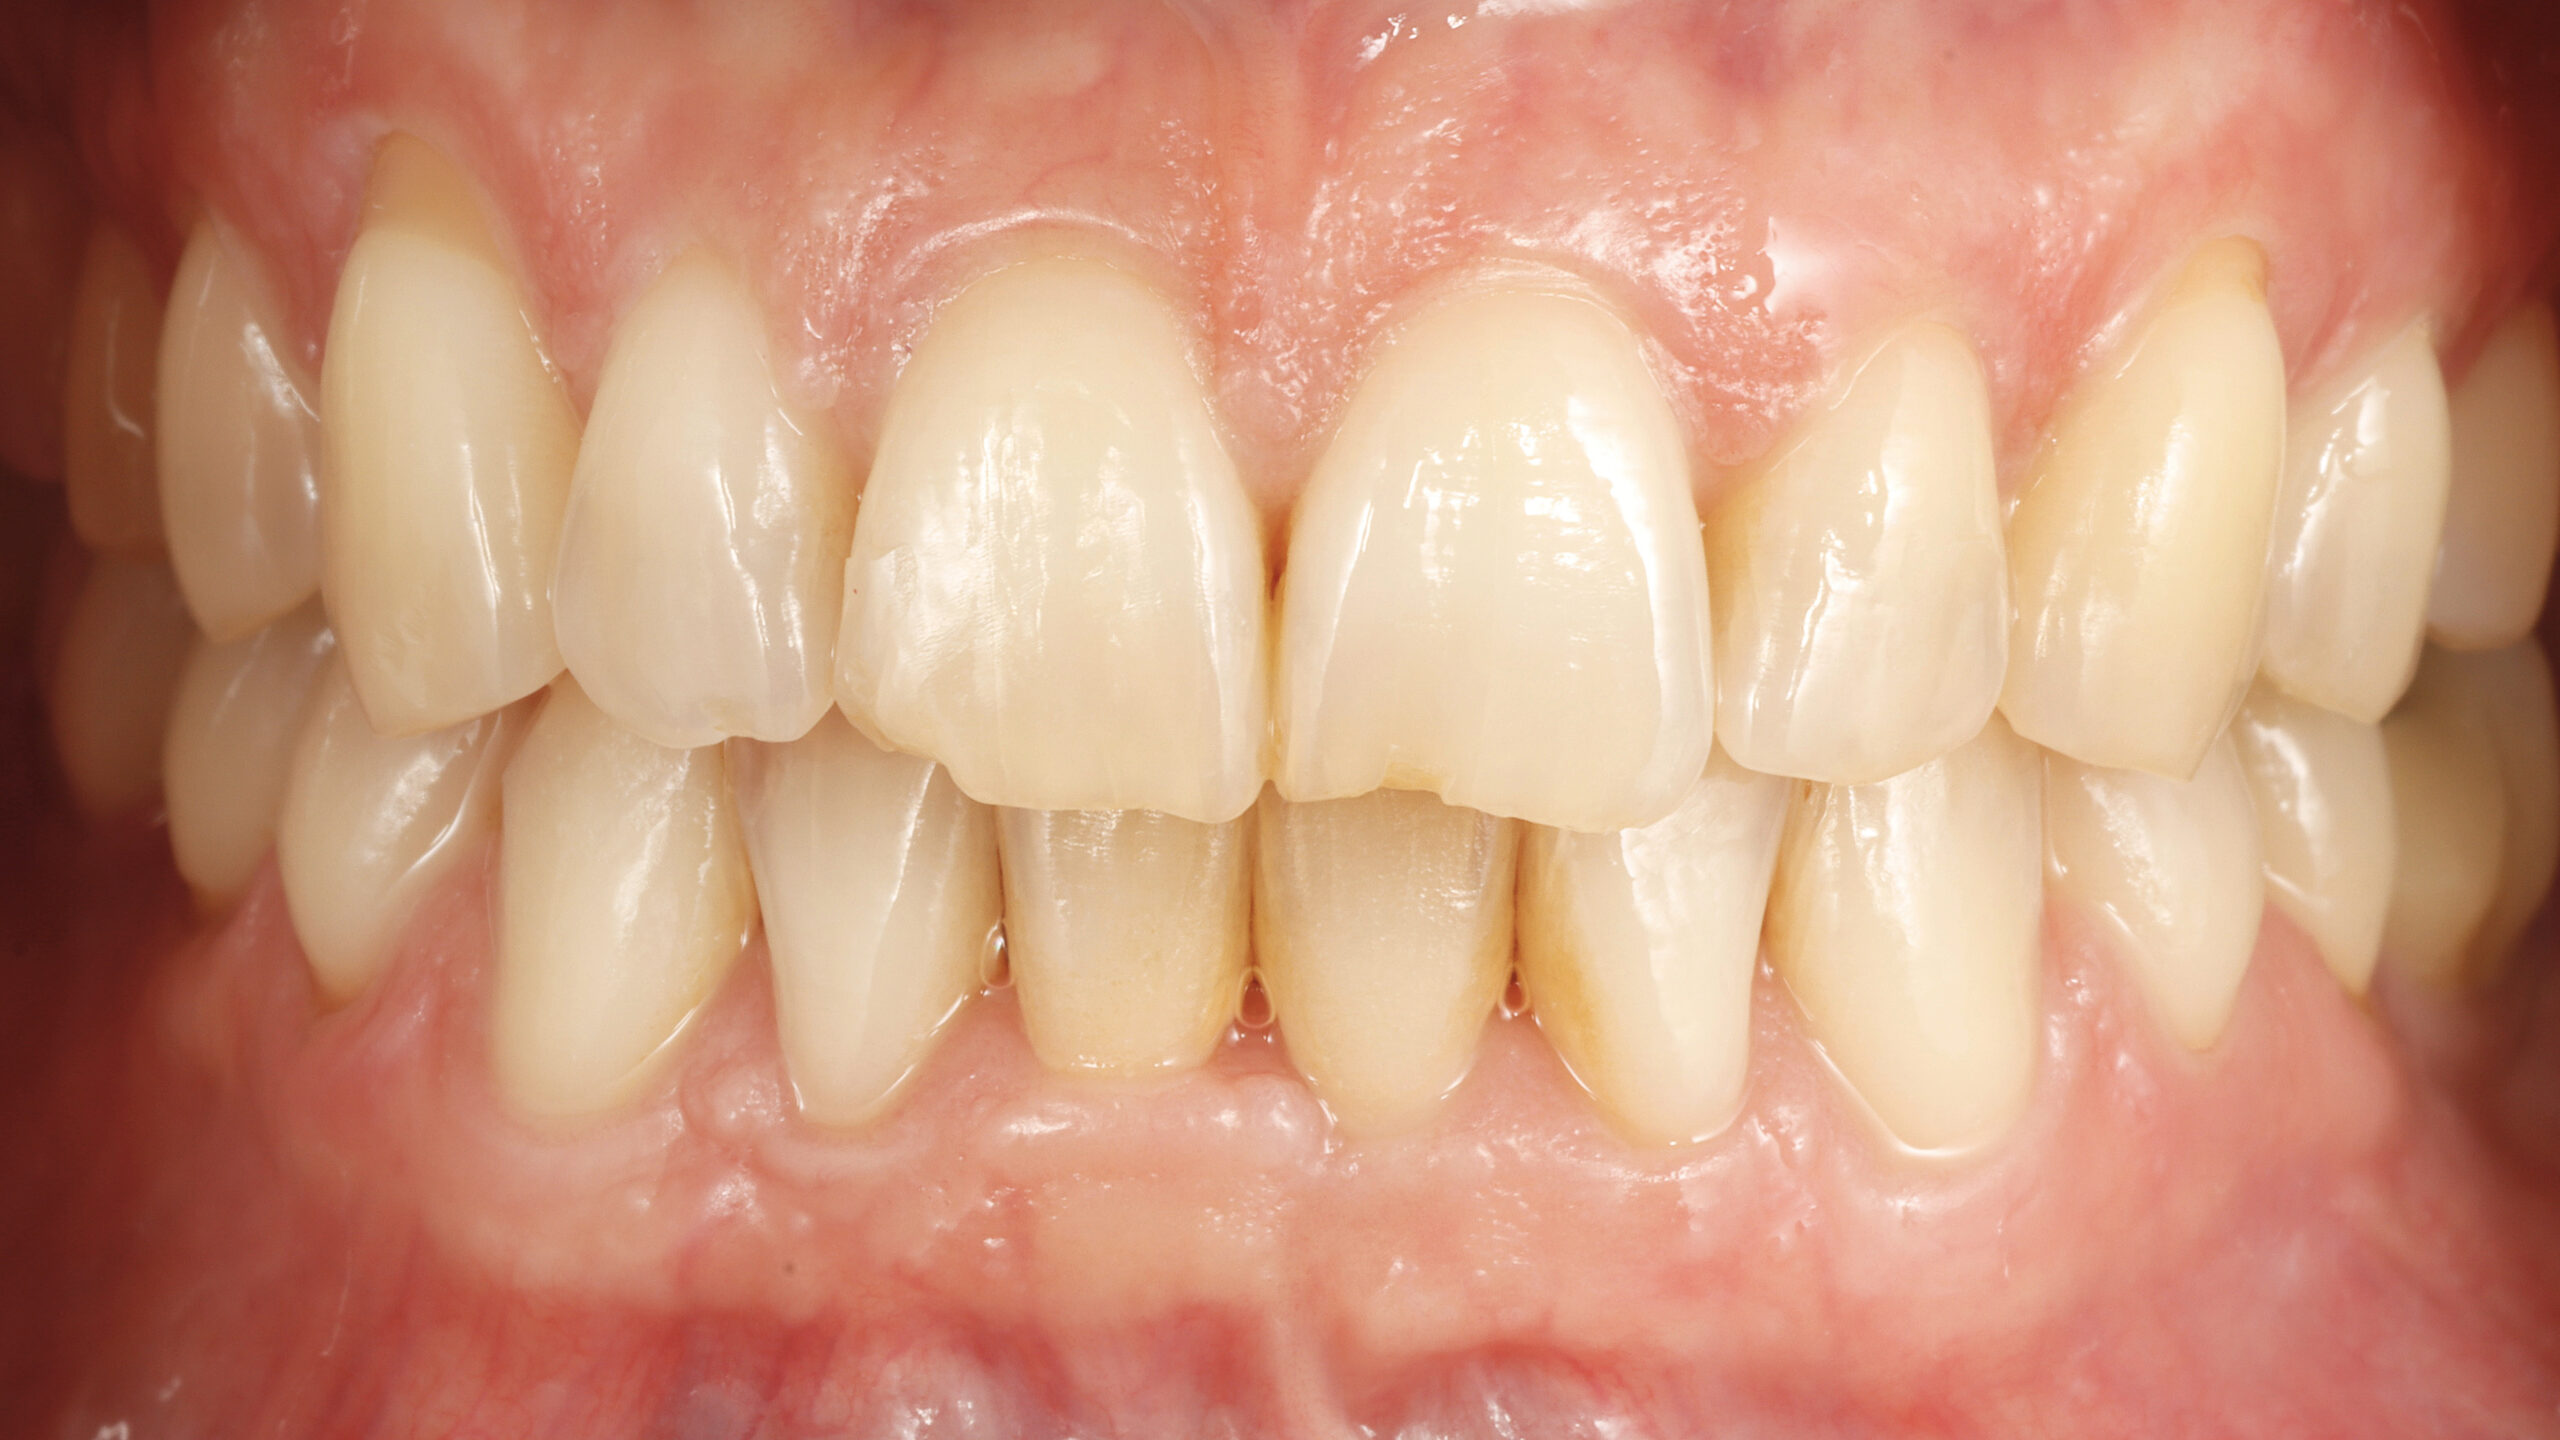
1 | Initial aspect
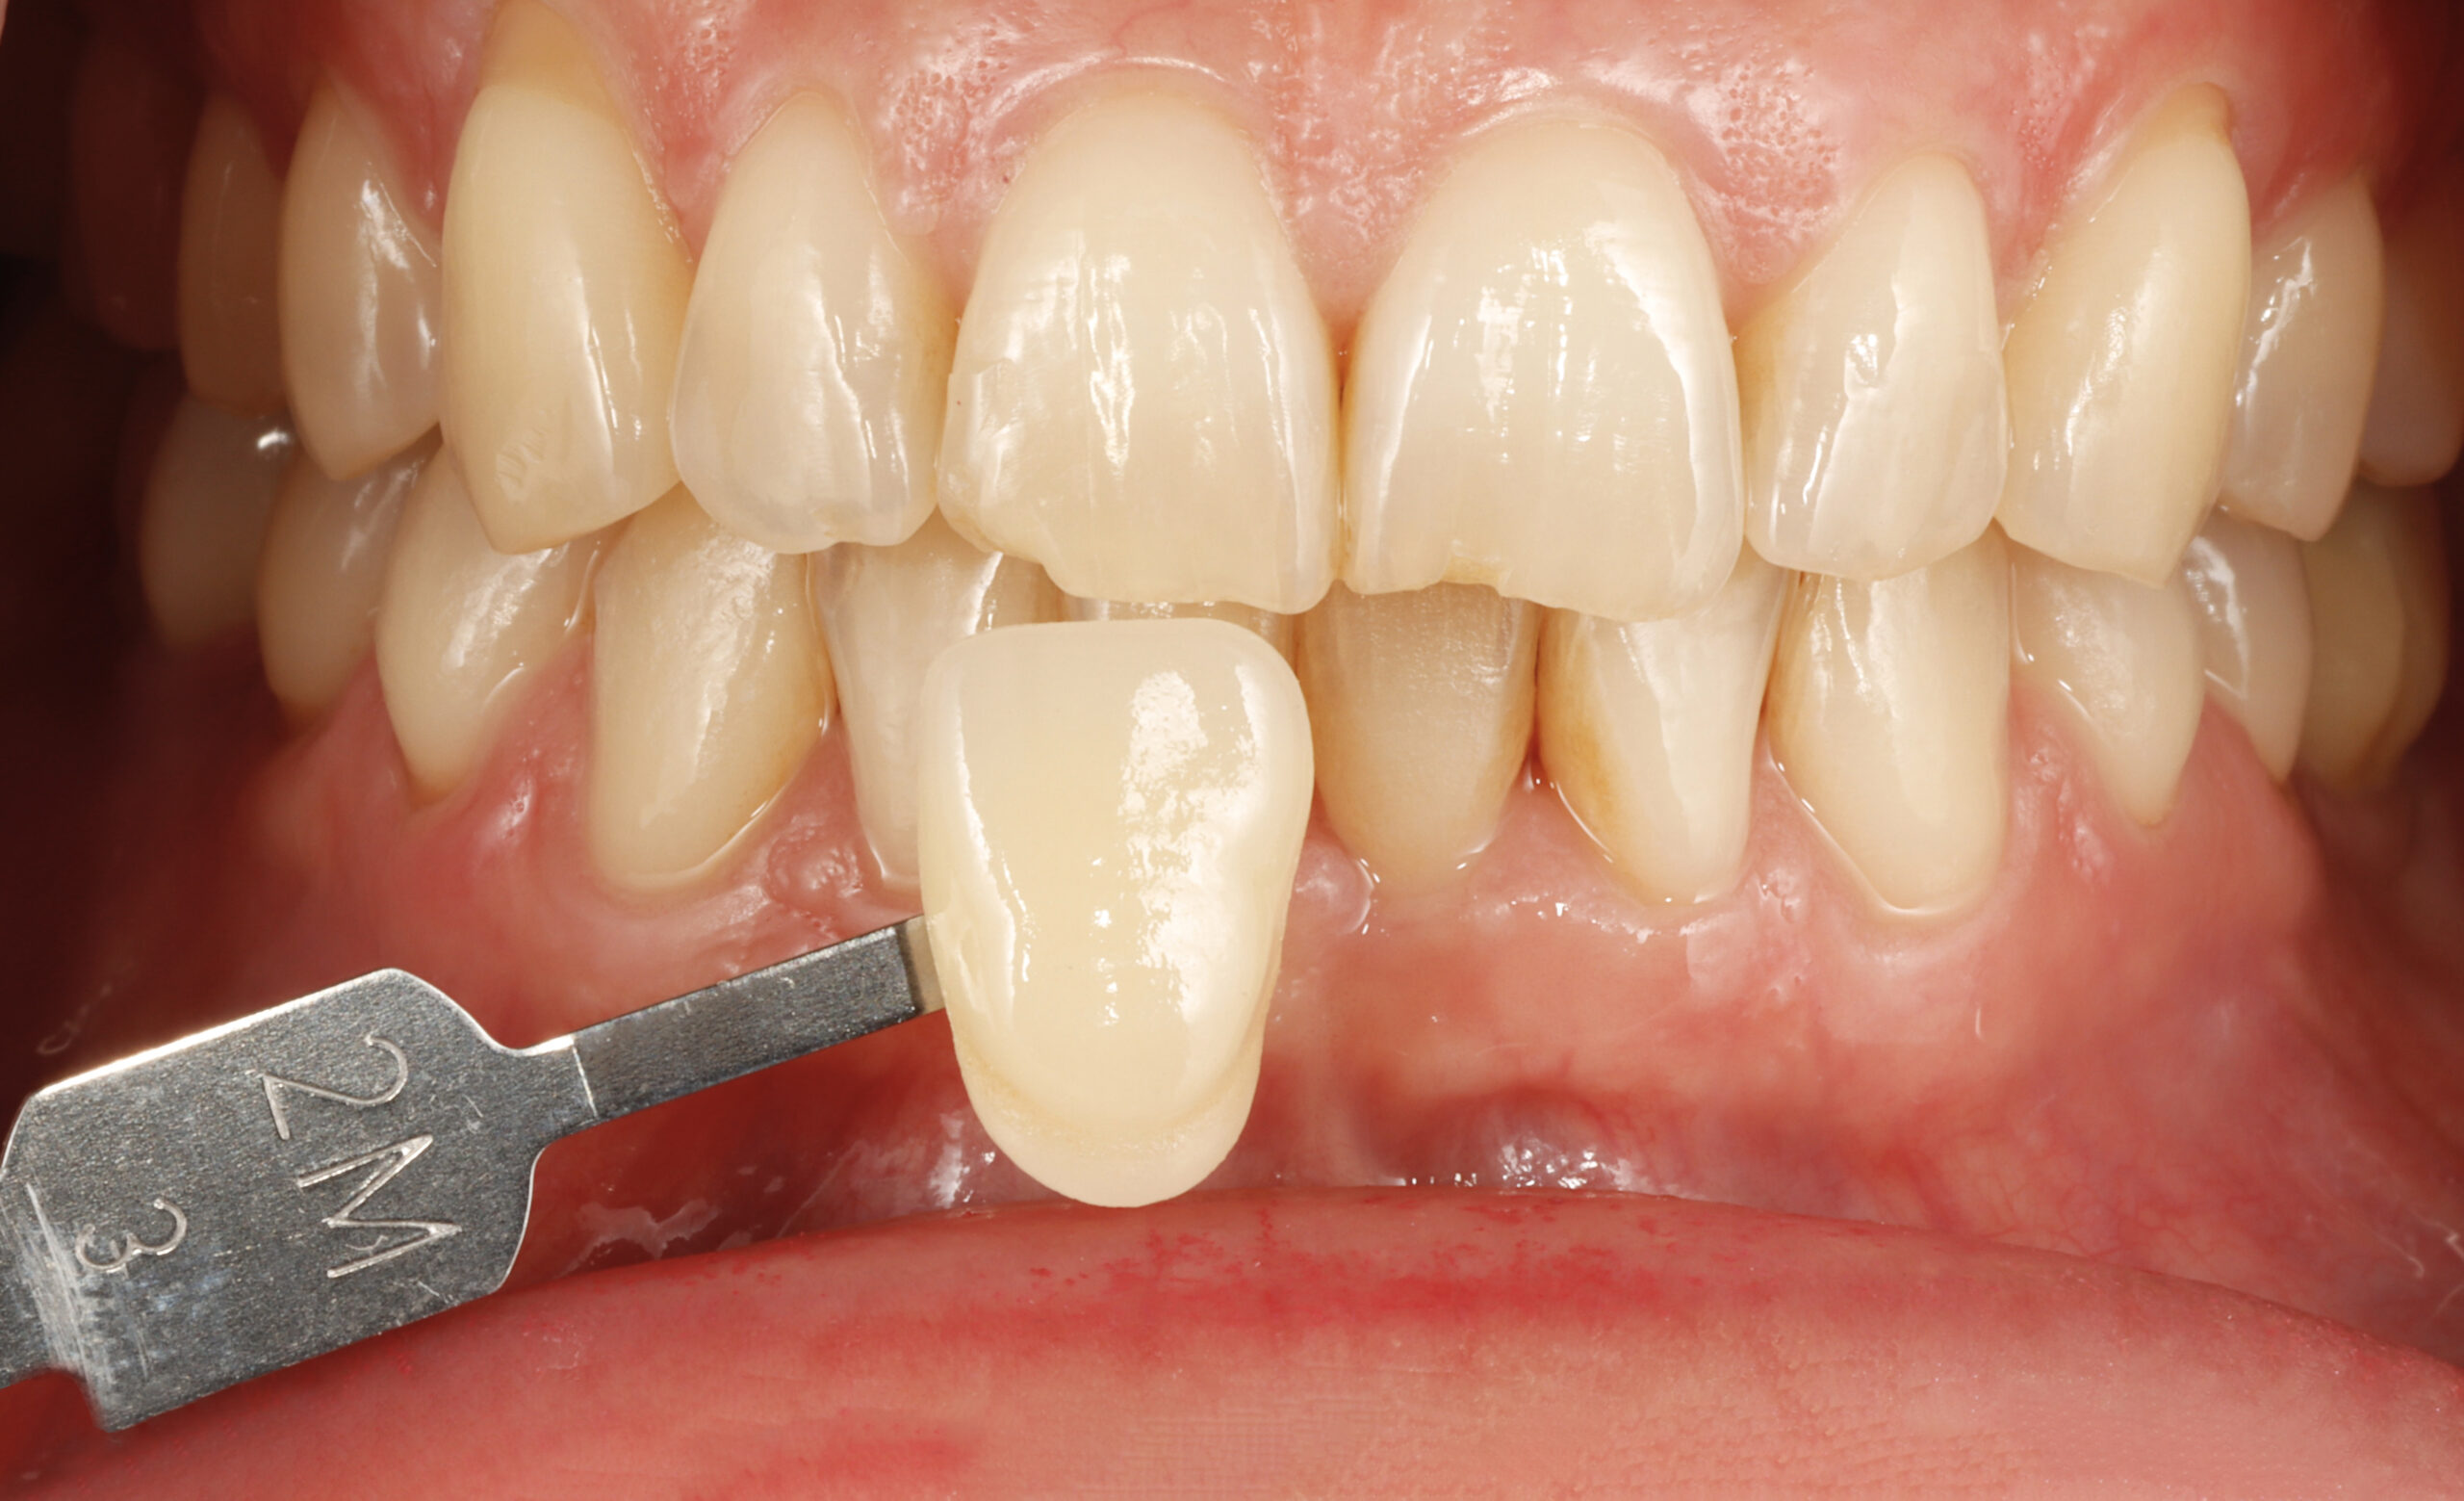
2 | Shade before whitening.
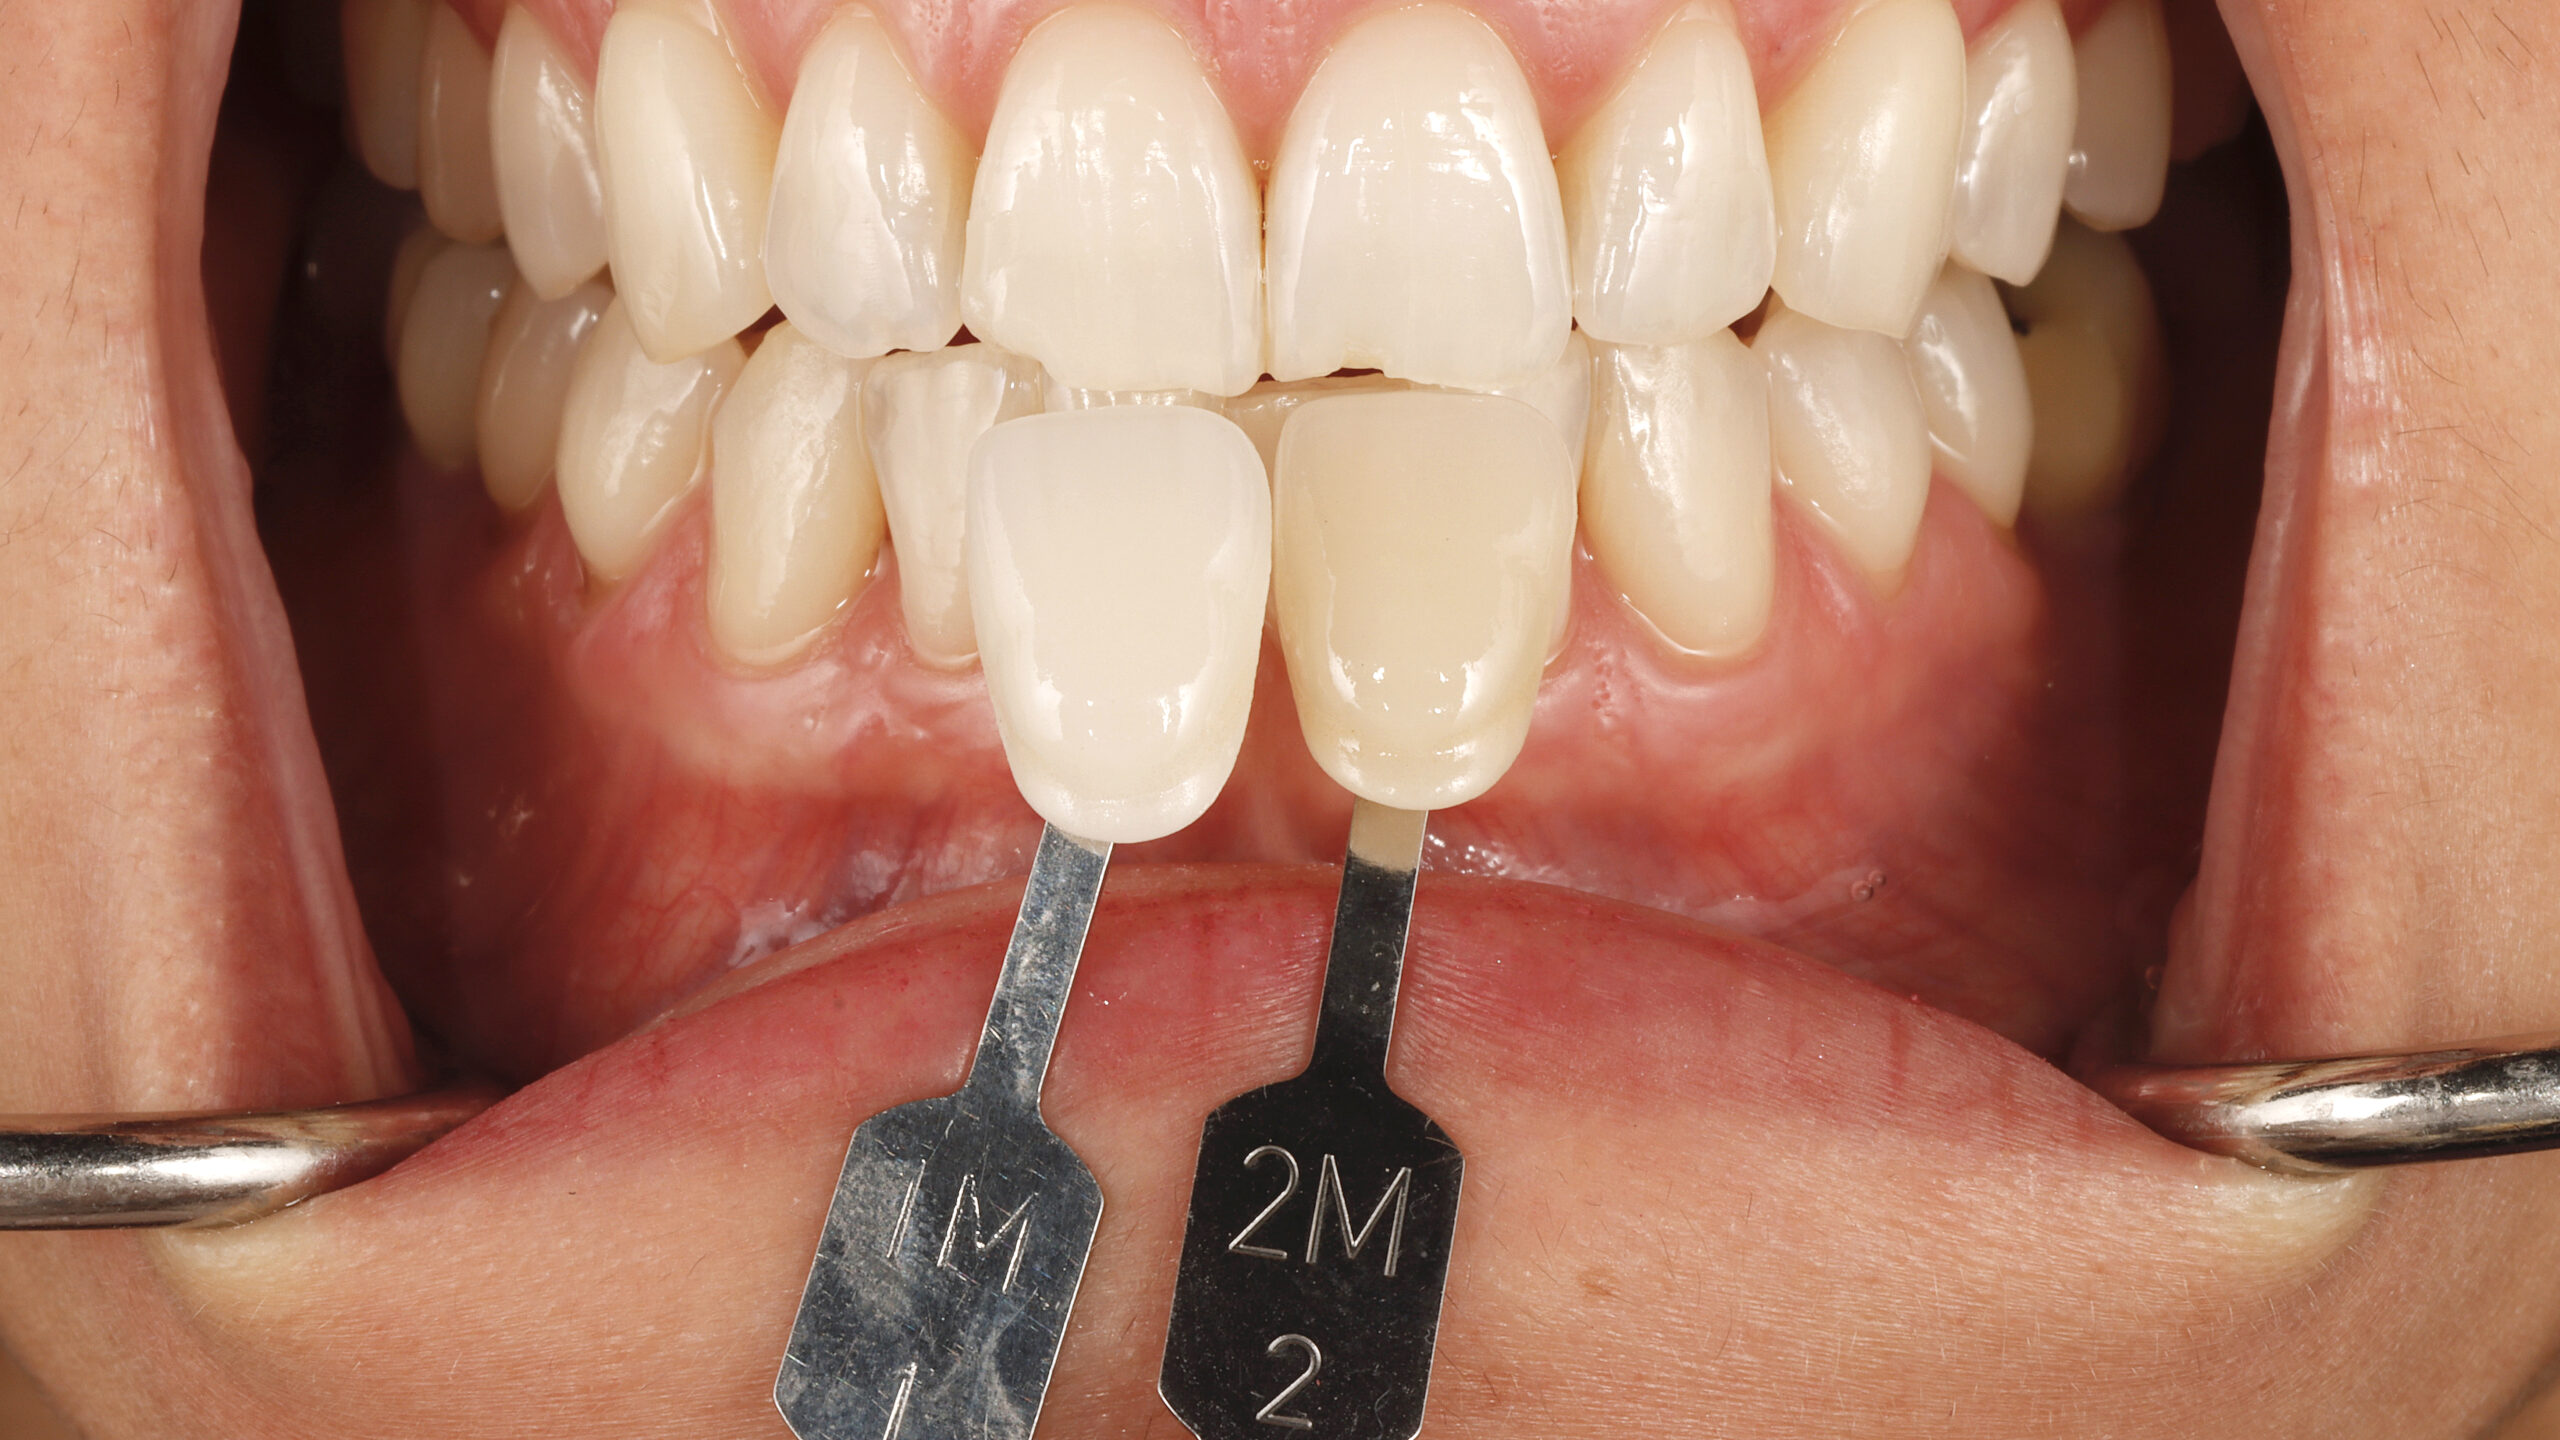
3 | Control after whitening. It went from 2M2/2M3 to 1M1.
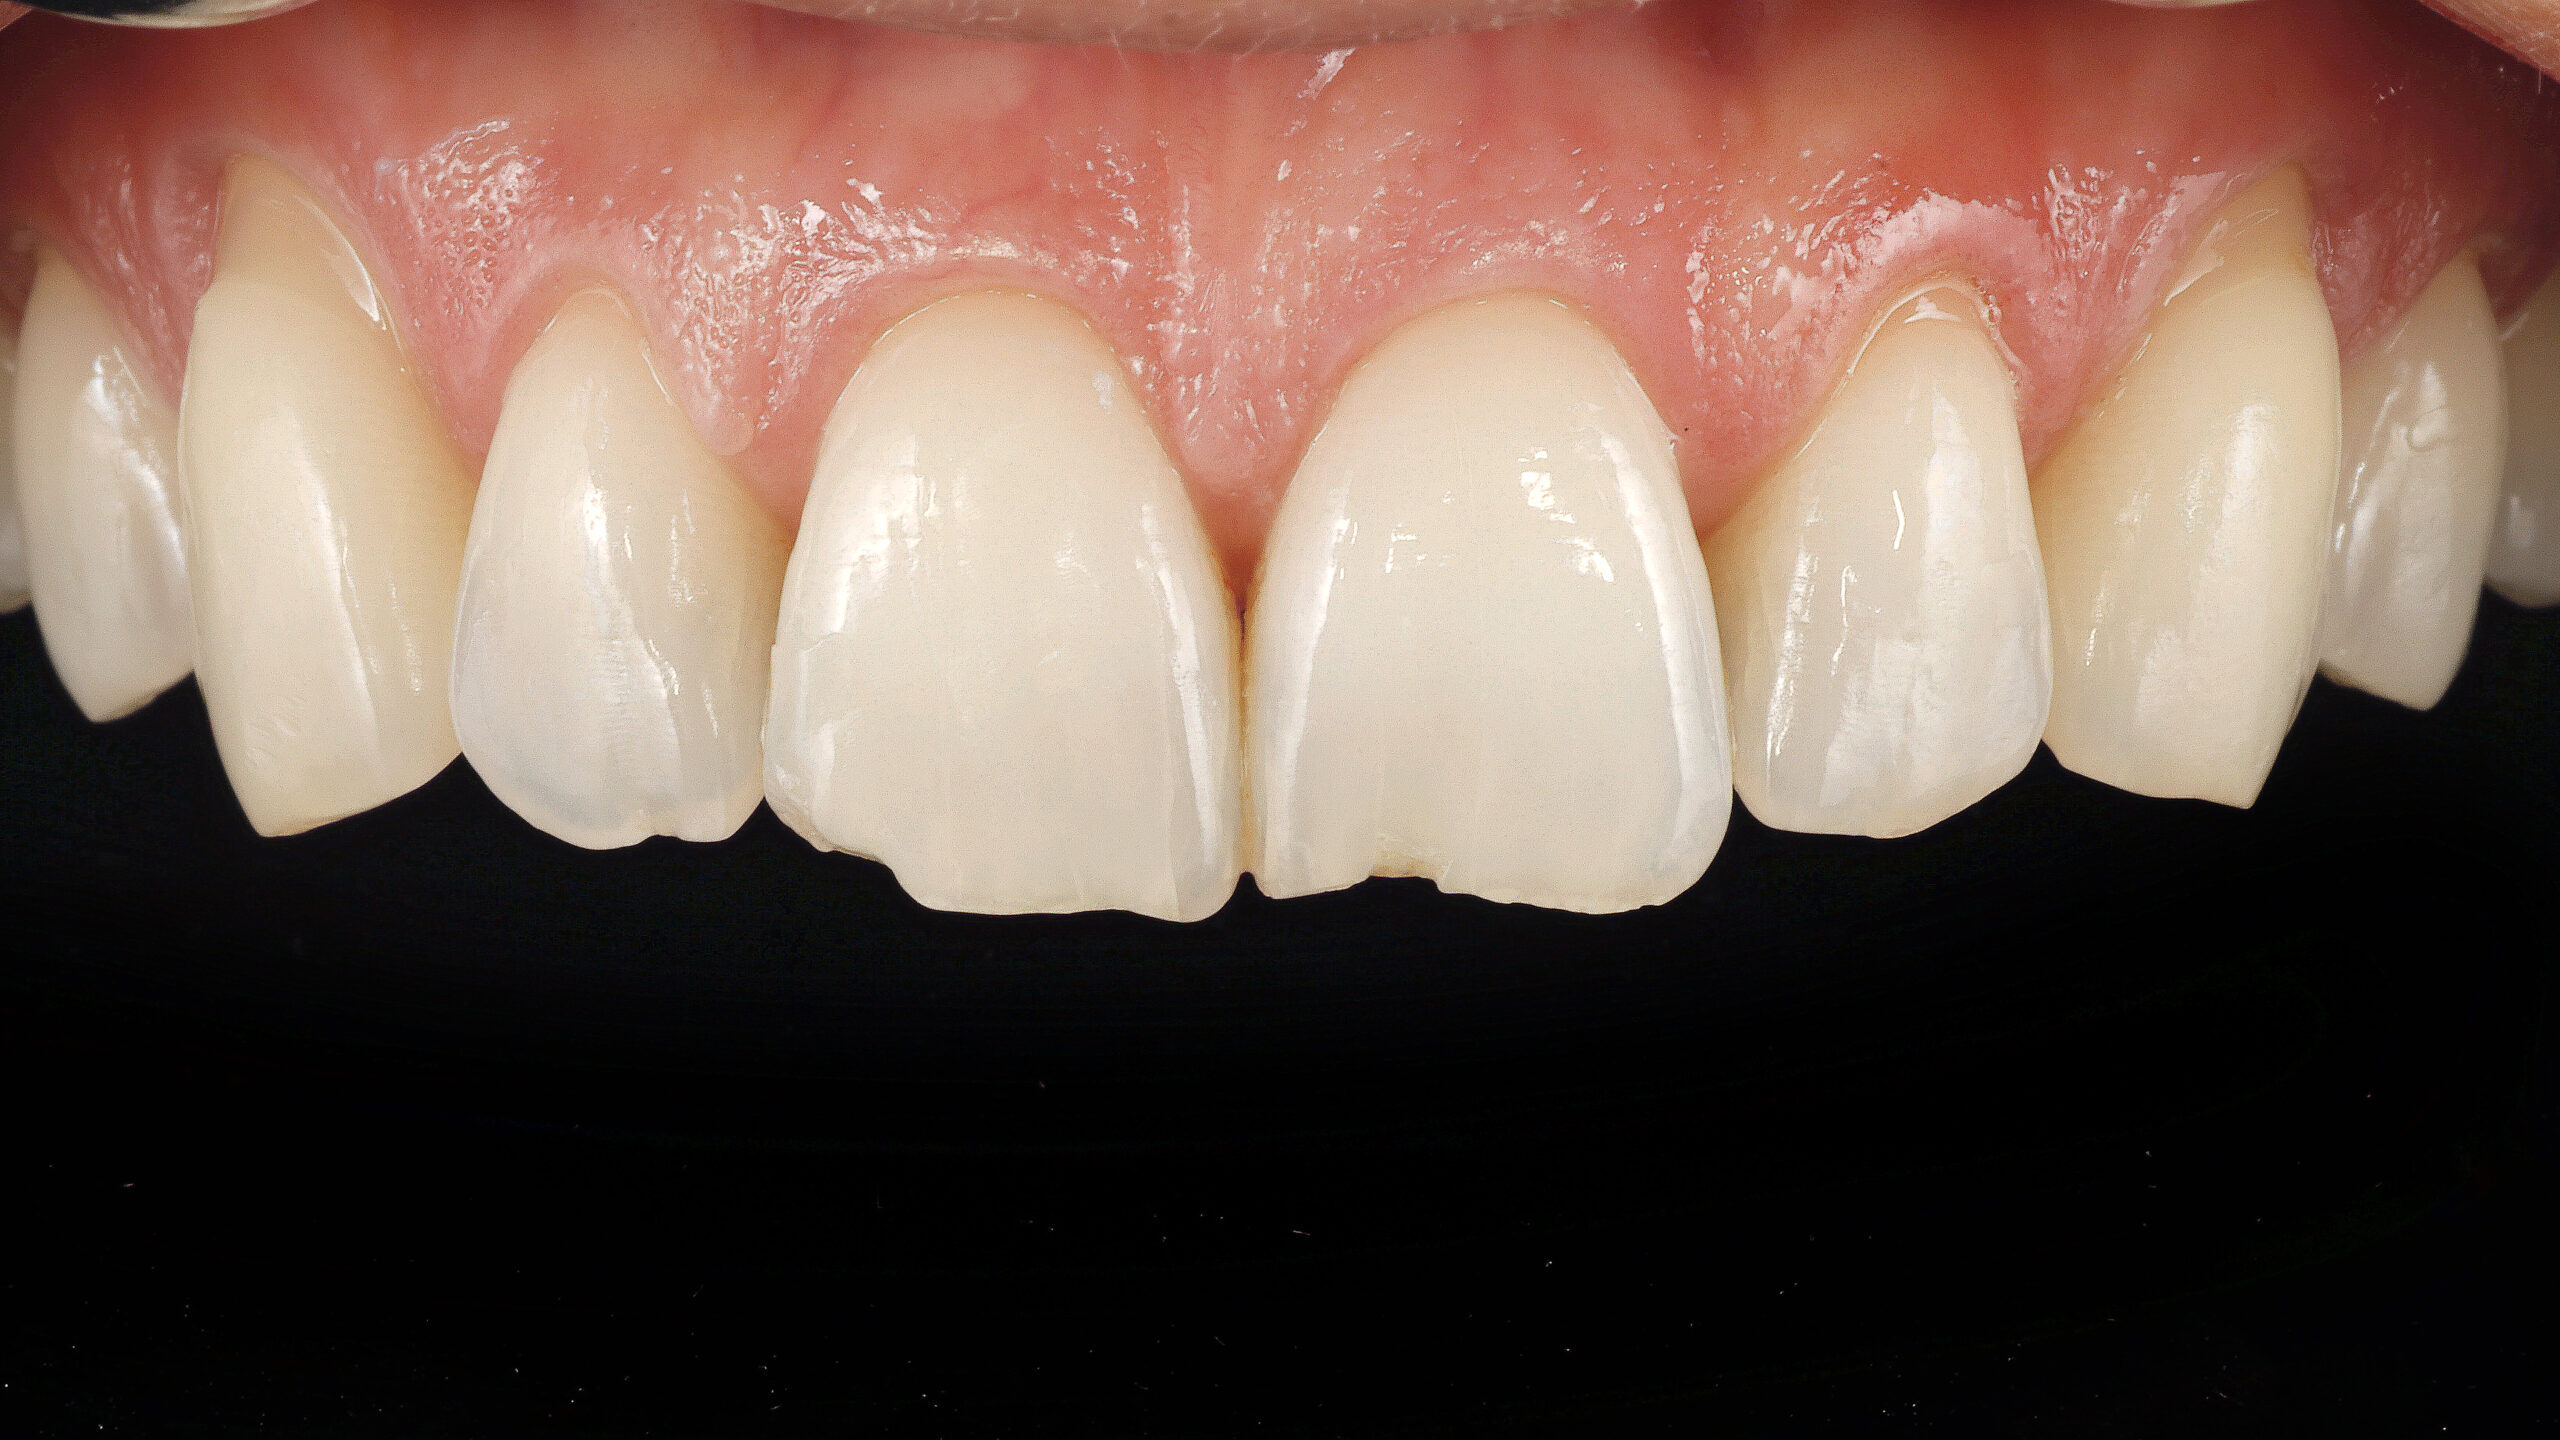
4 | Preoperative before direct composite restorations.
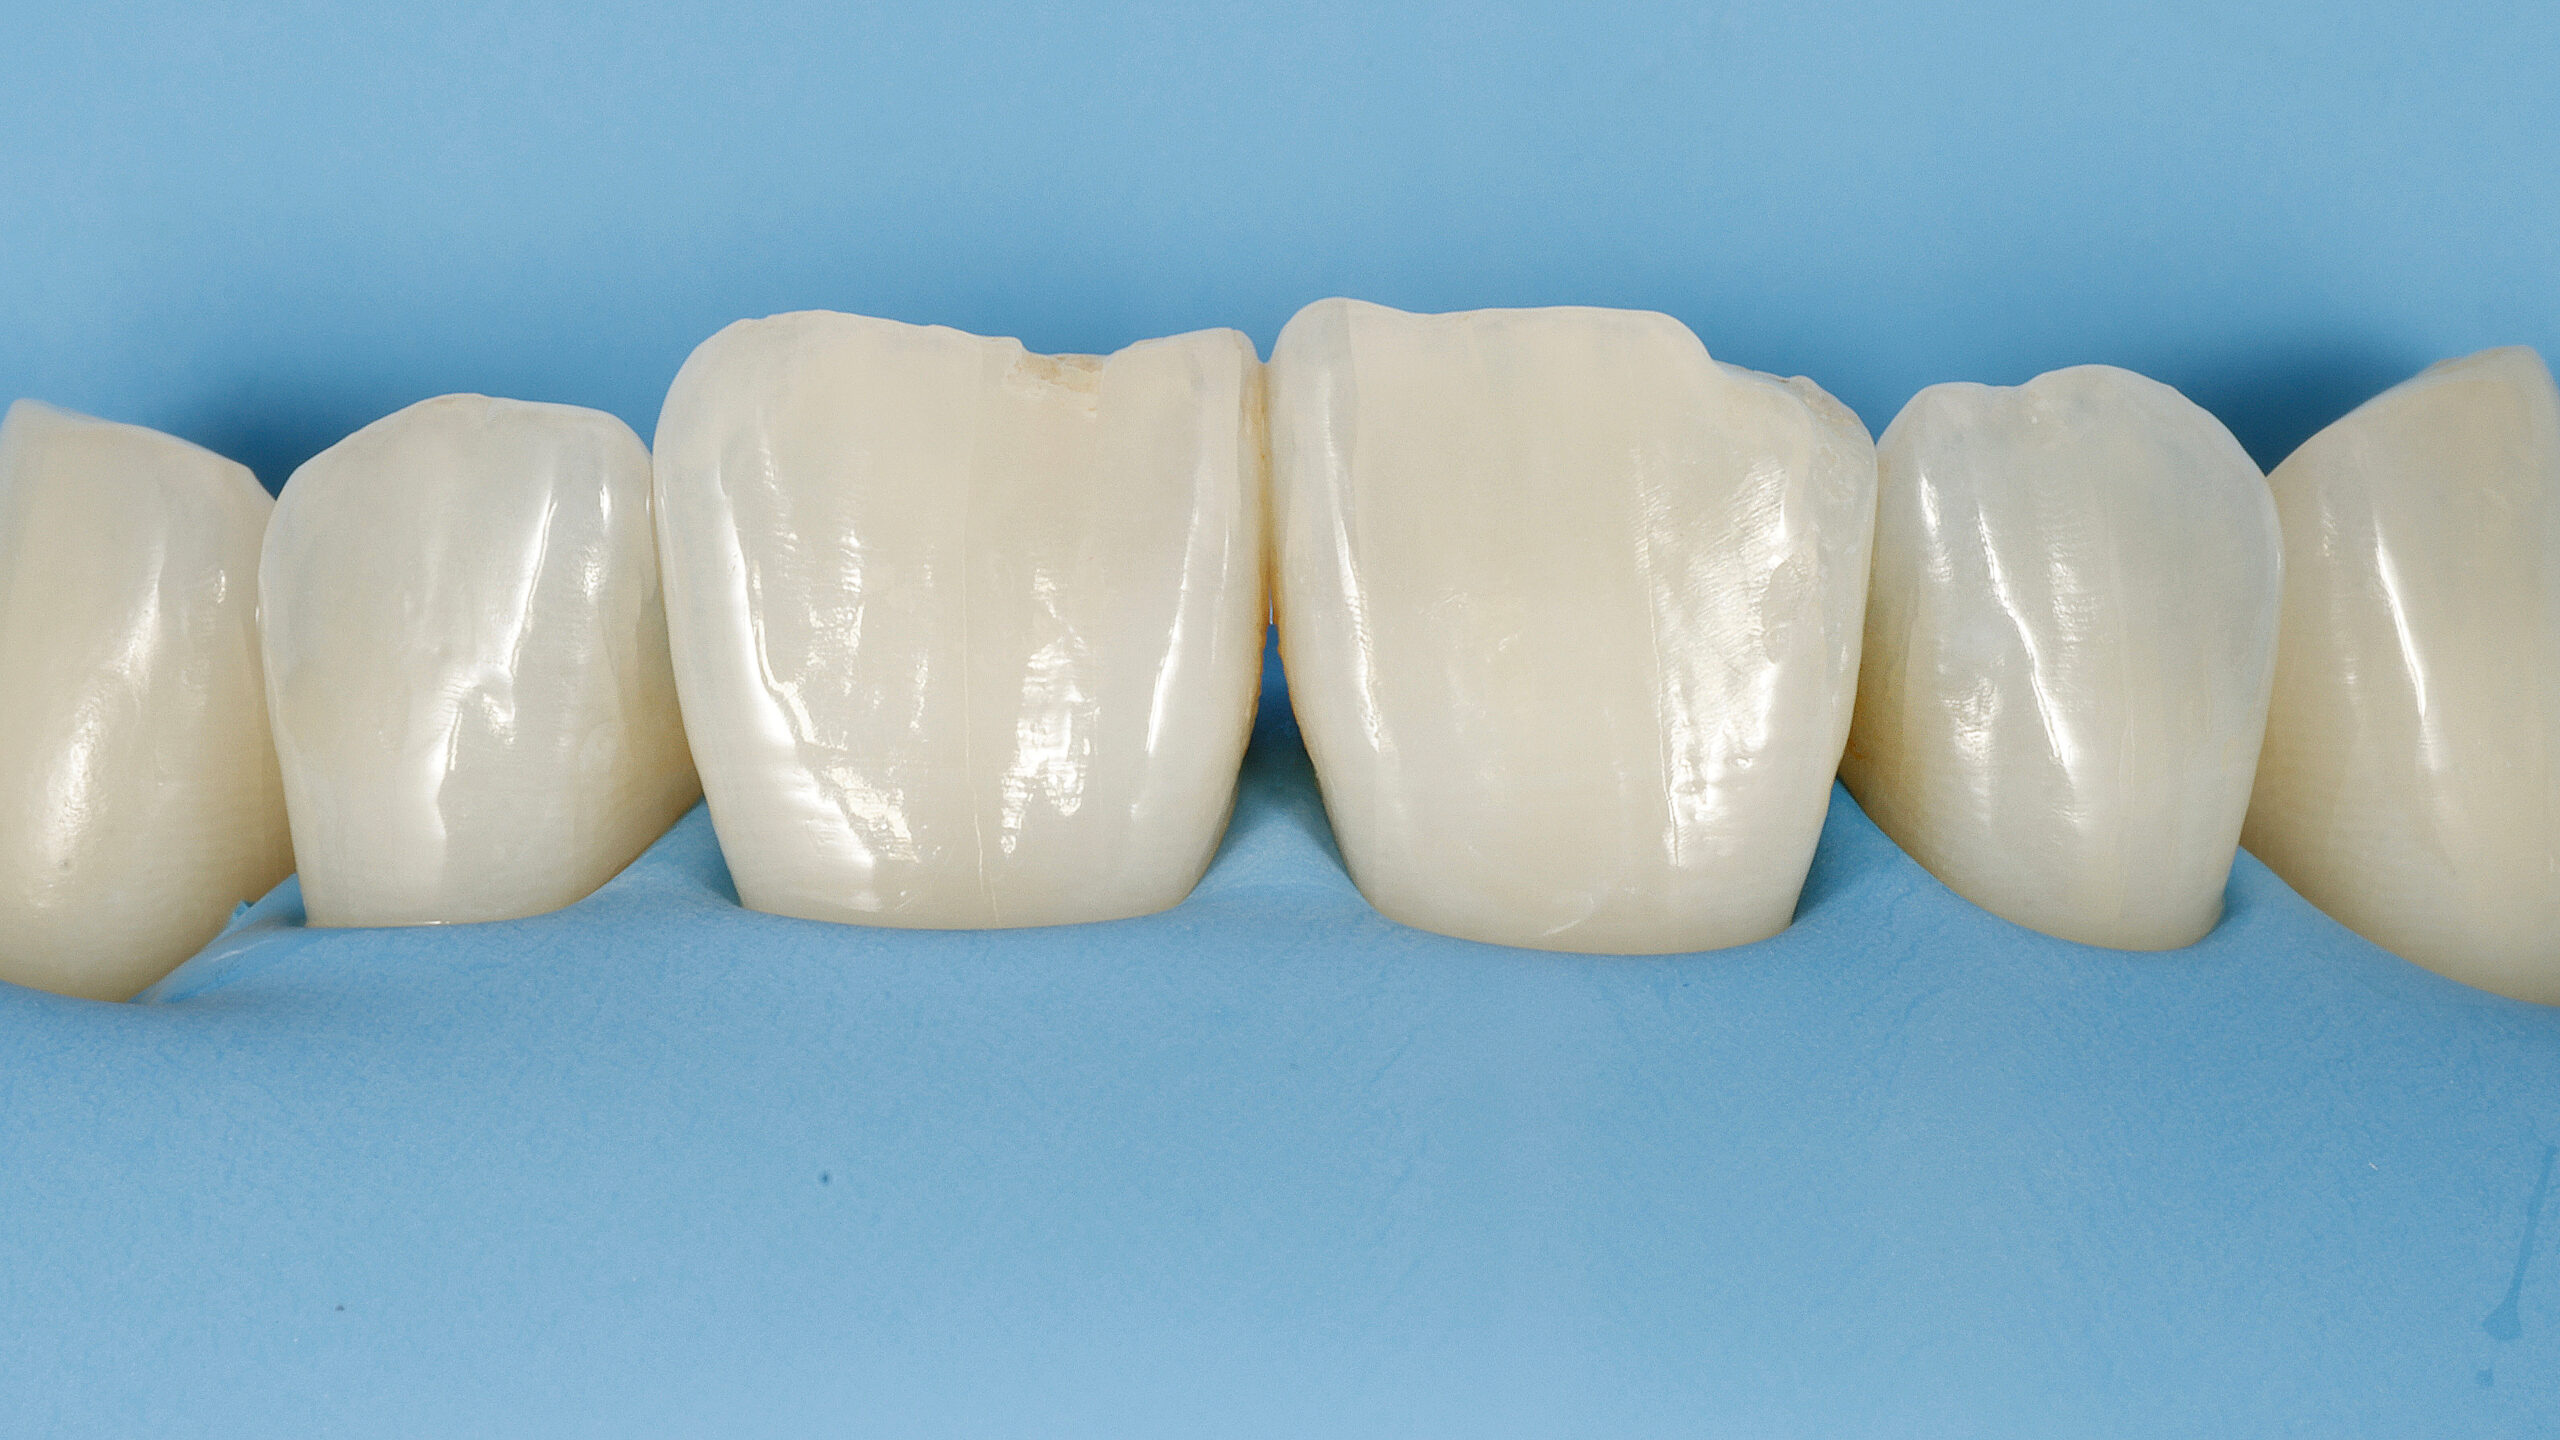
5 | Absolute isolation to keep the area clean.
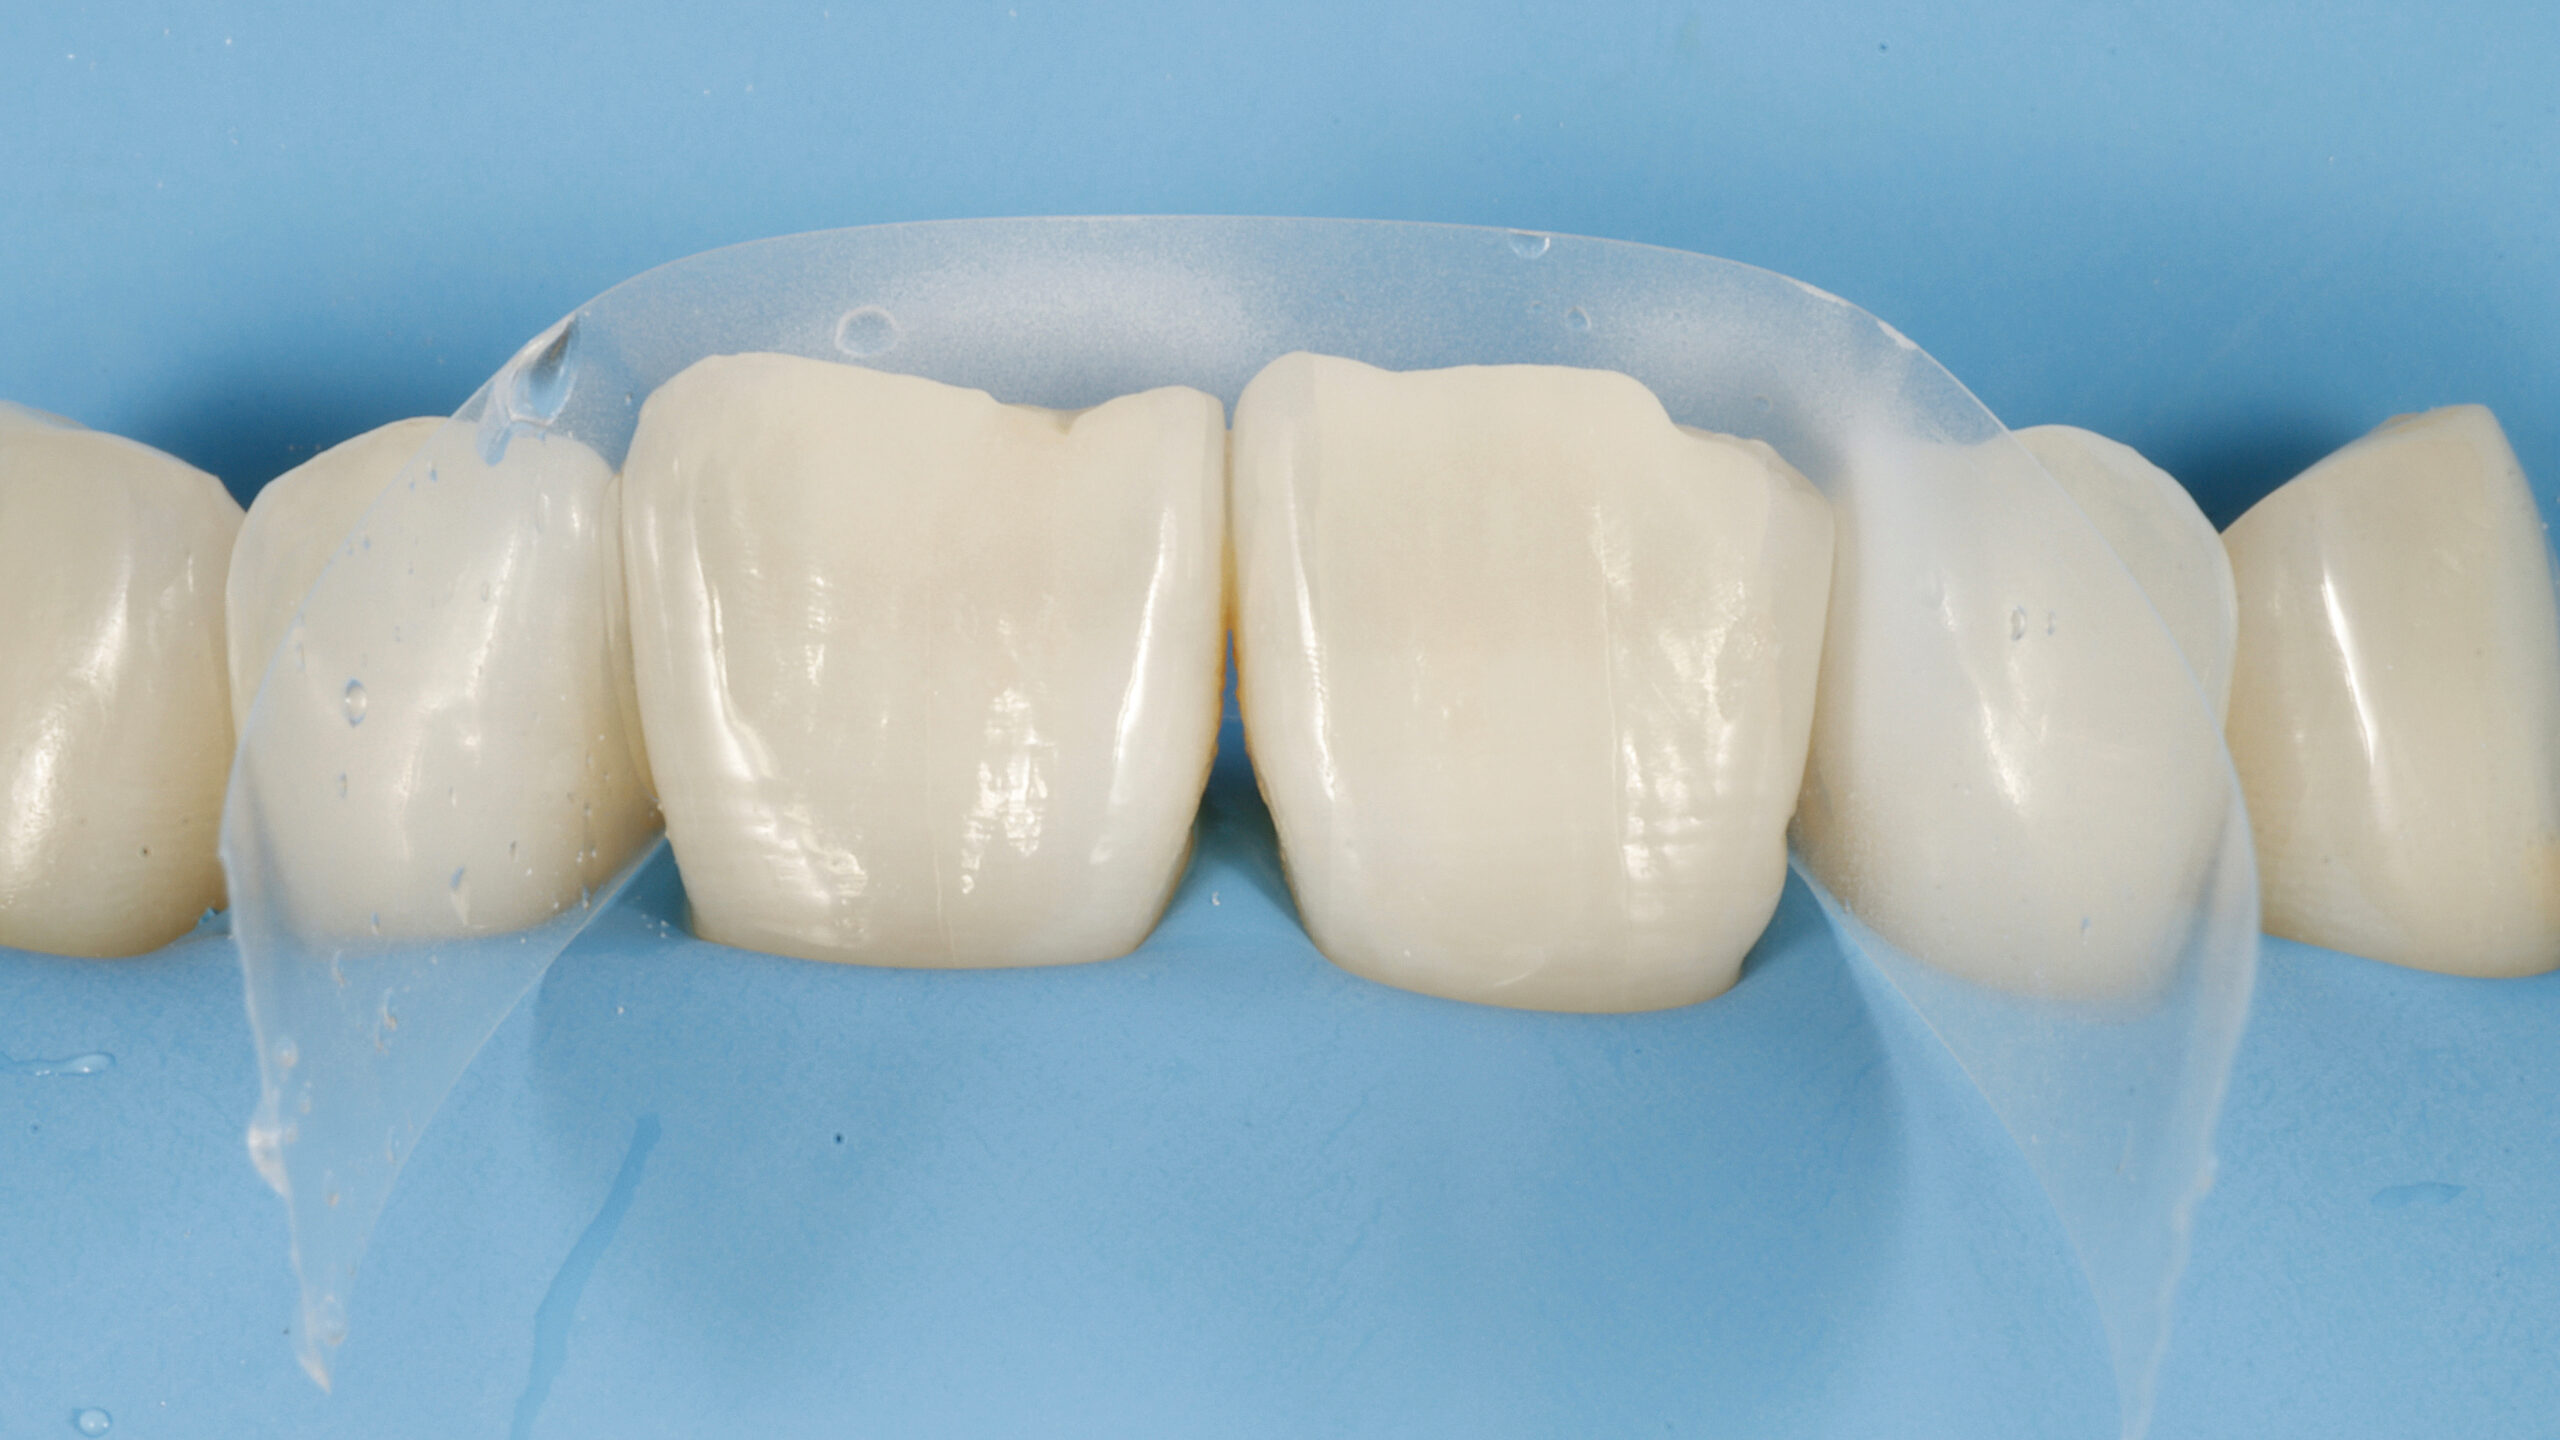
6 |Jet with 50 micron aluminum powder. A bevel was not performed, the sharp edges were simply smoothed with a jet.
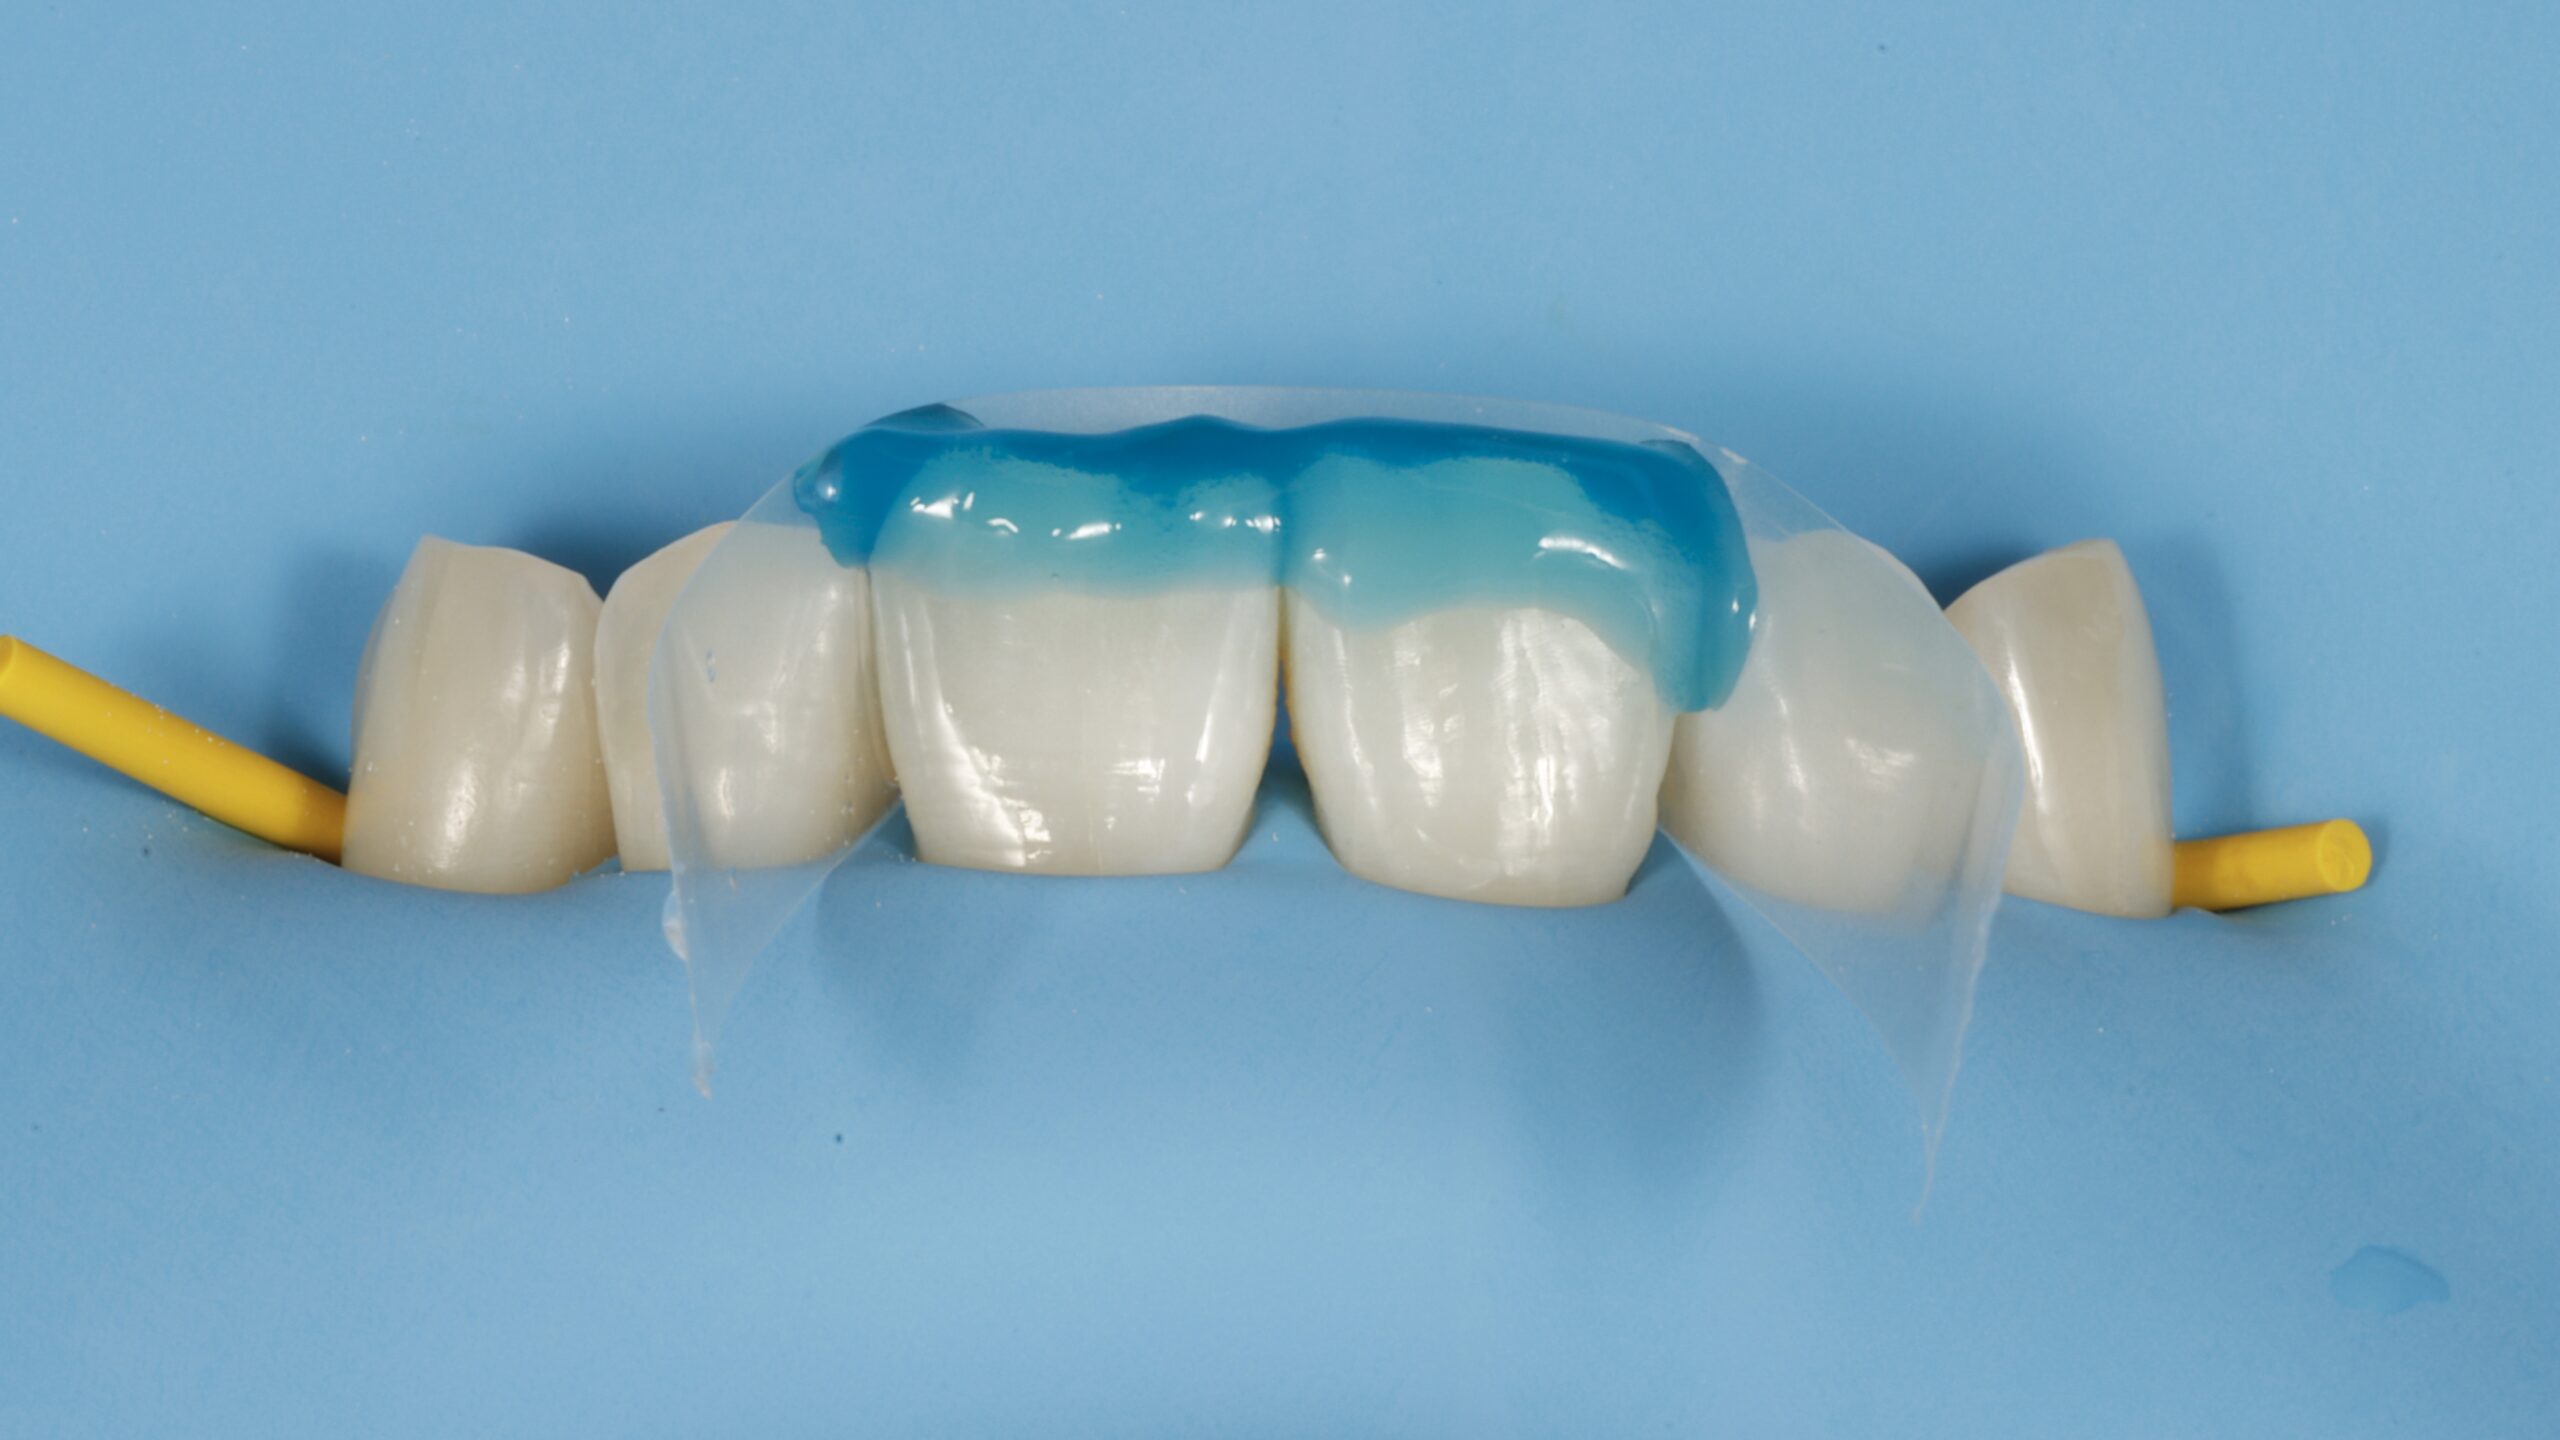
7 | Etching with 37% phosphoric acid
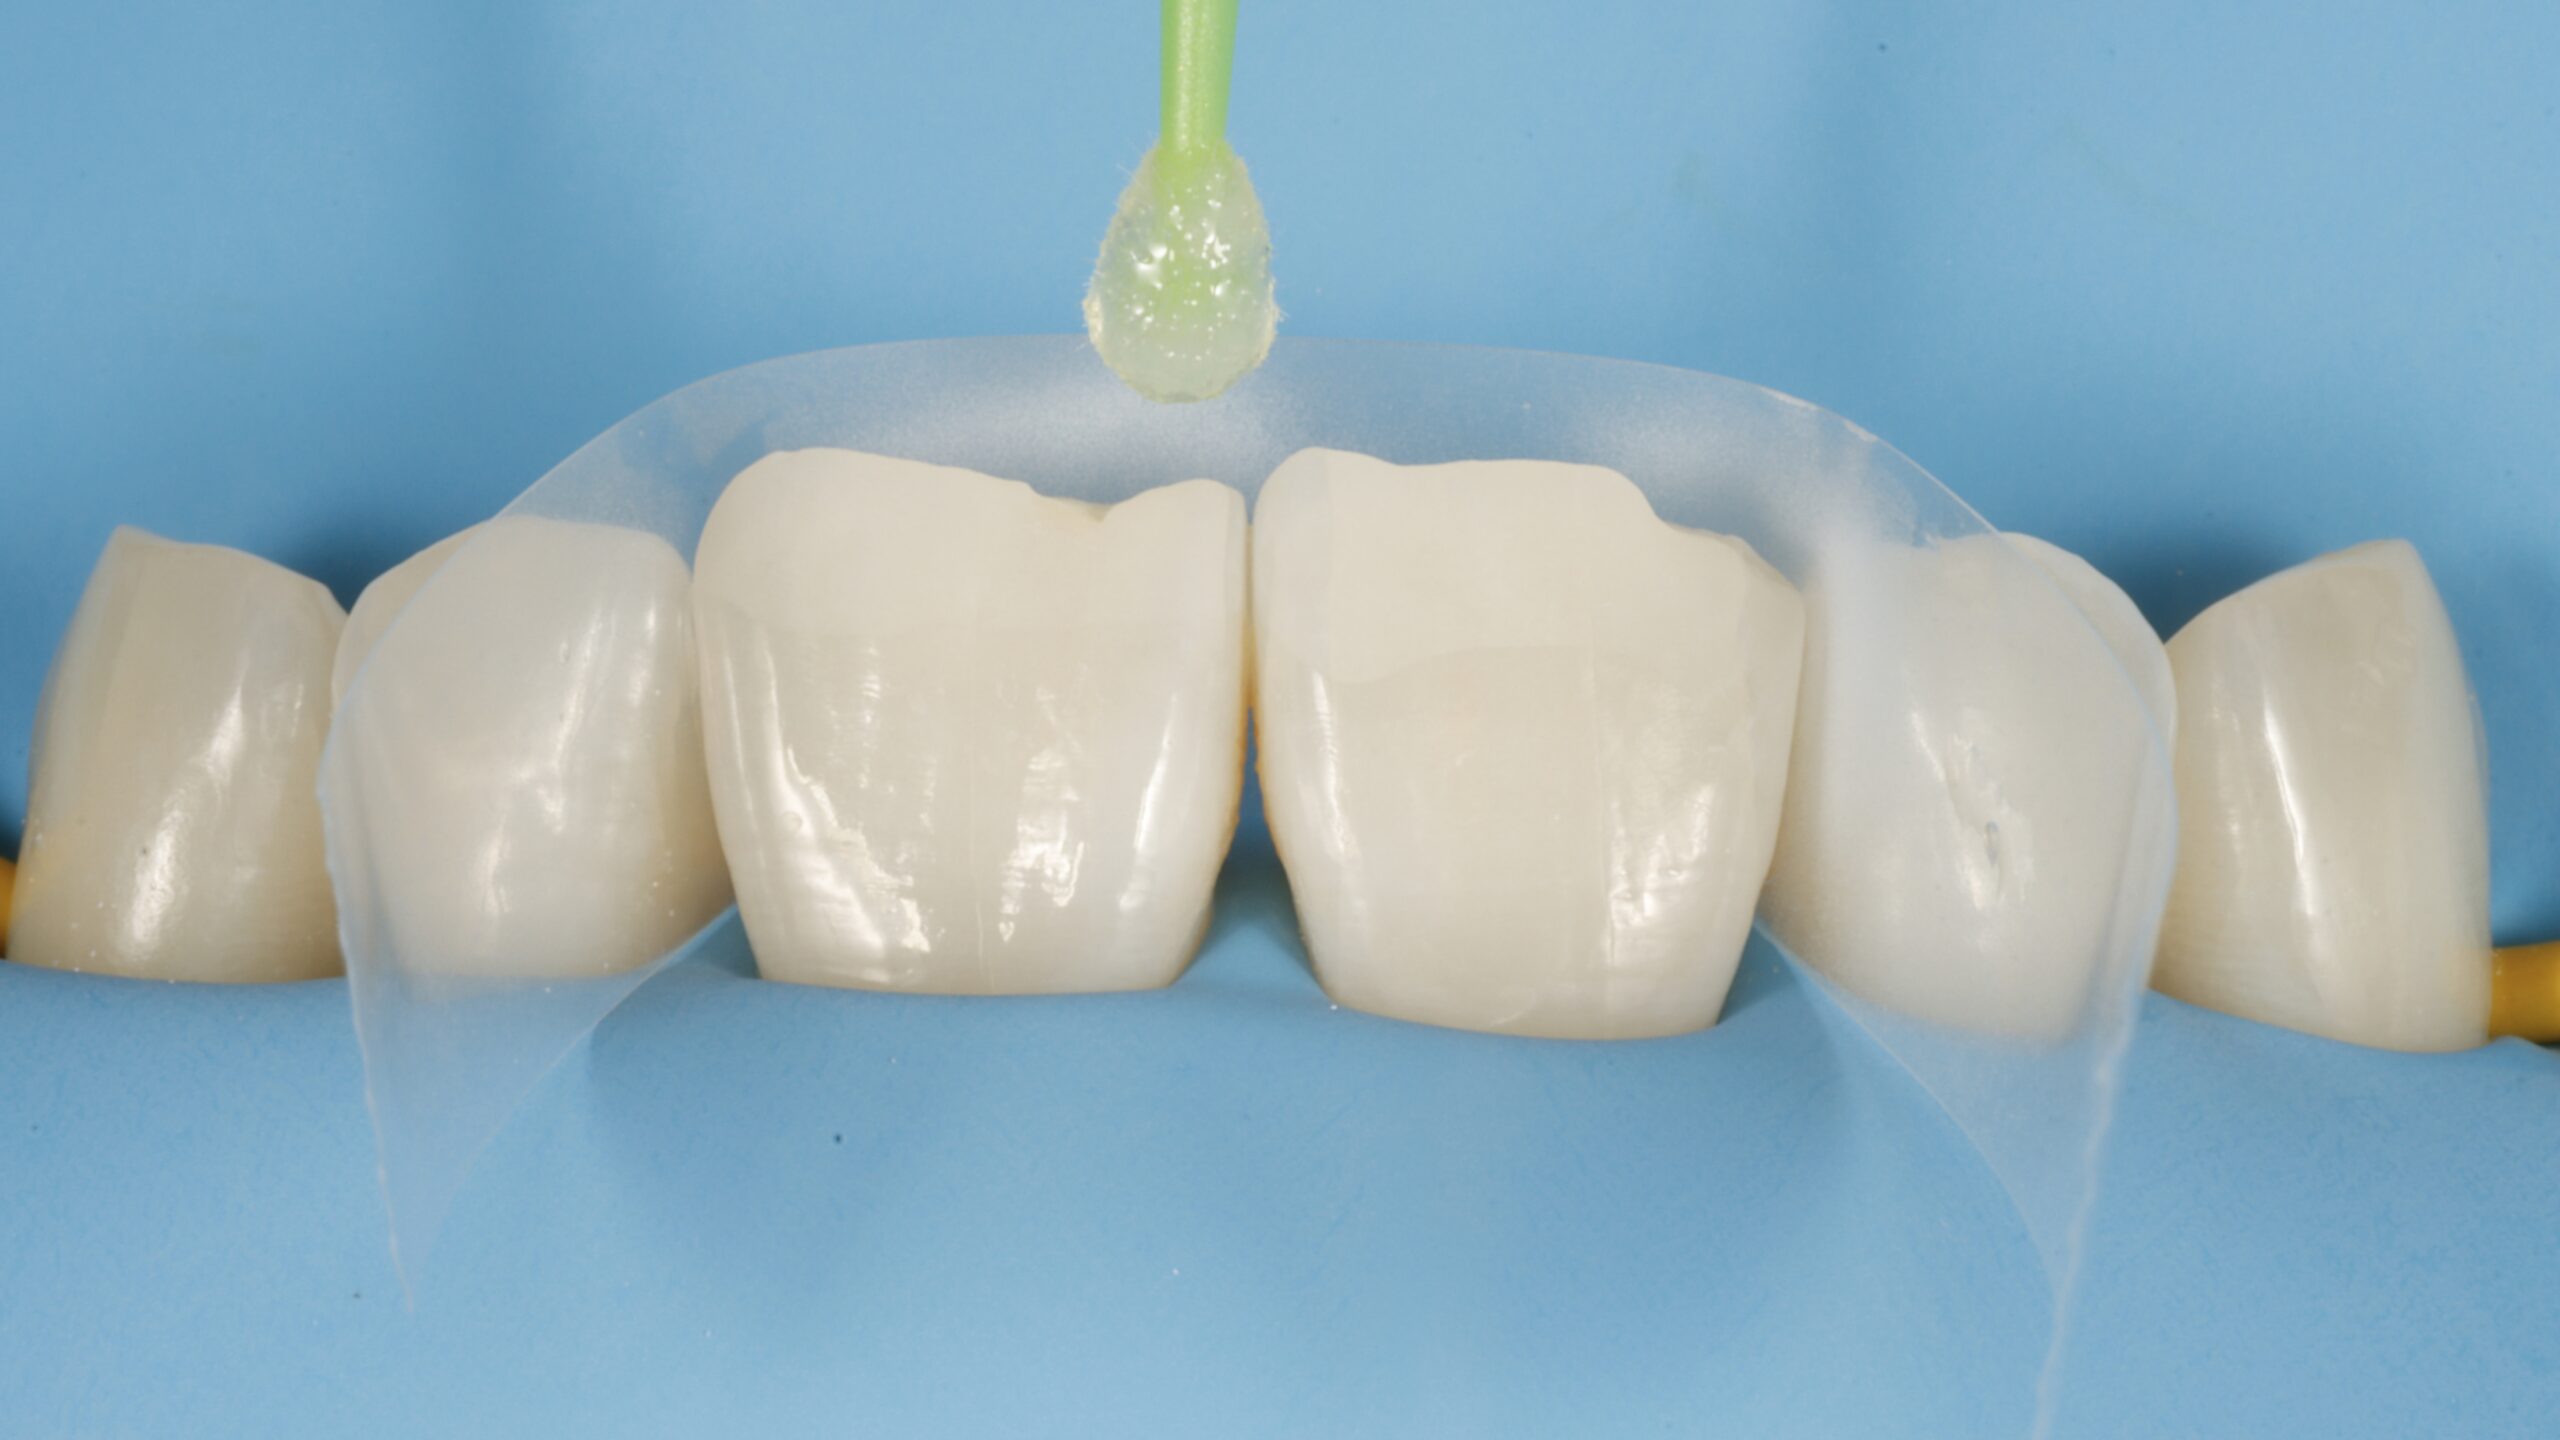
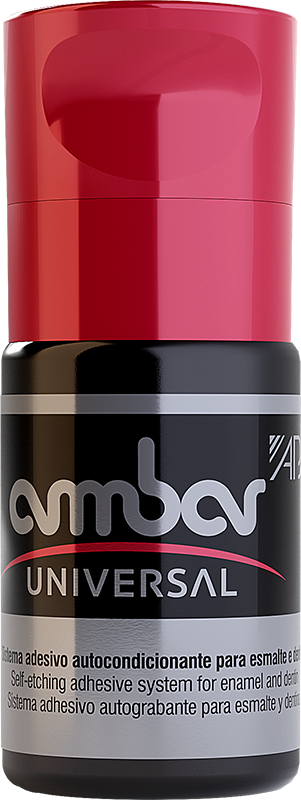
8 | Application of the Ambar Universal APS adhesive, practically colorless, allows formation of a thin film that mimics the dental substrate, favoring the naturalness of the restoration, especially when associated with Vittra APS Unique composite.
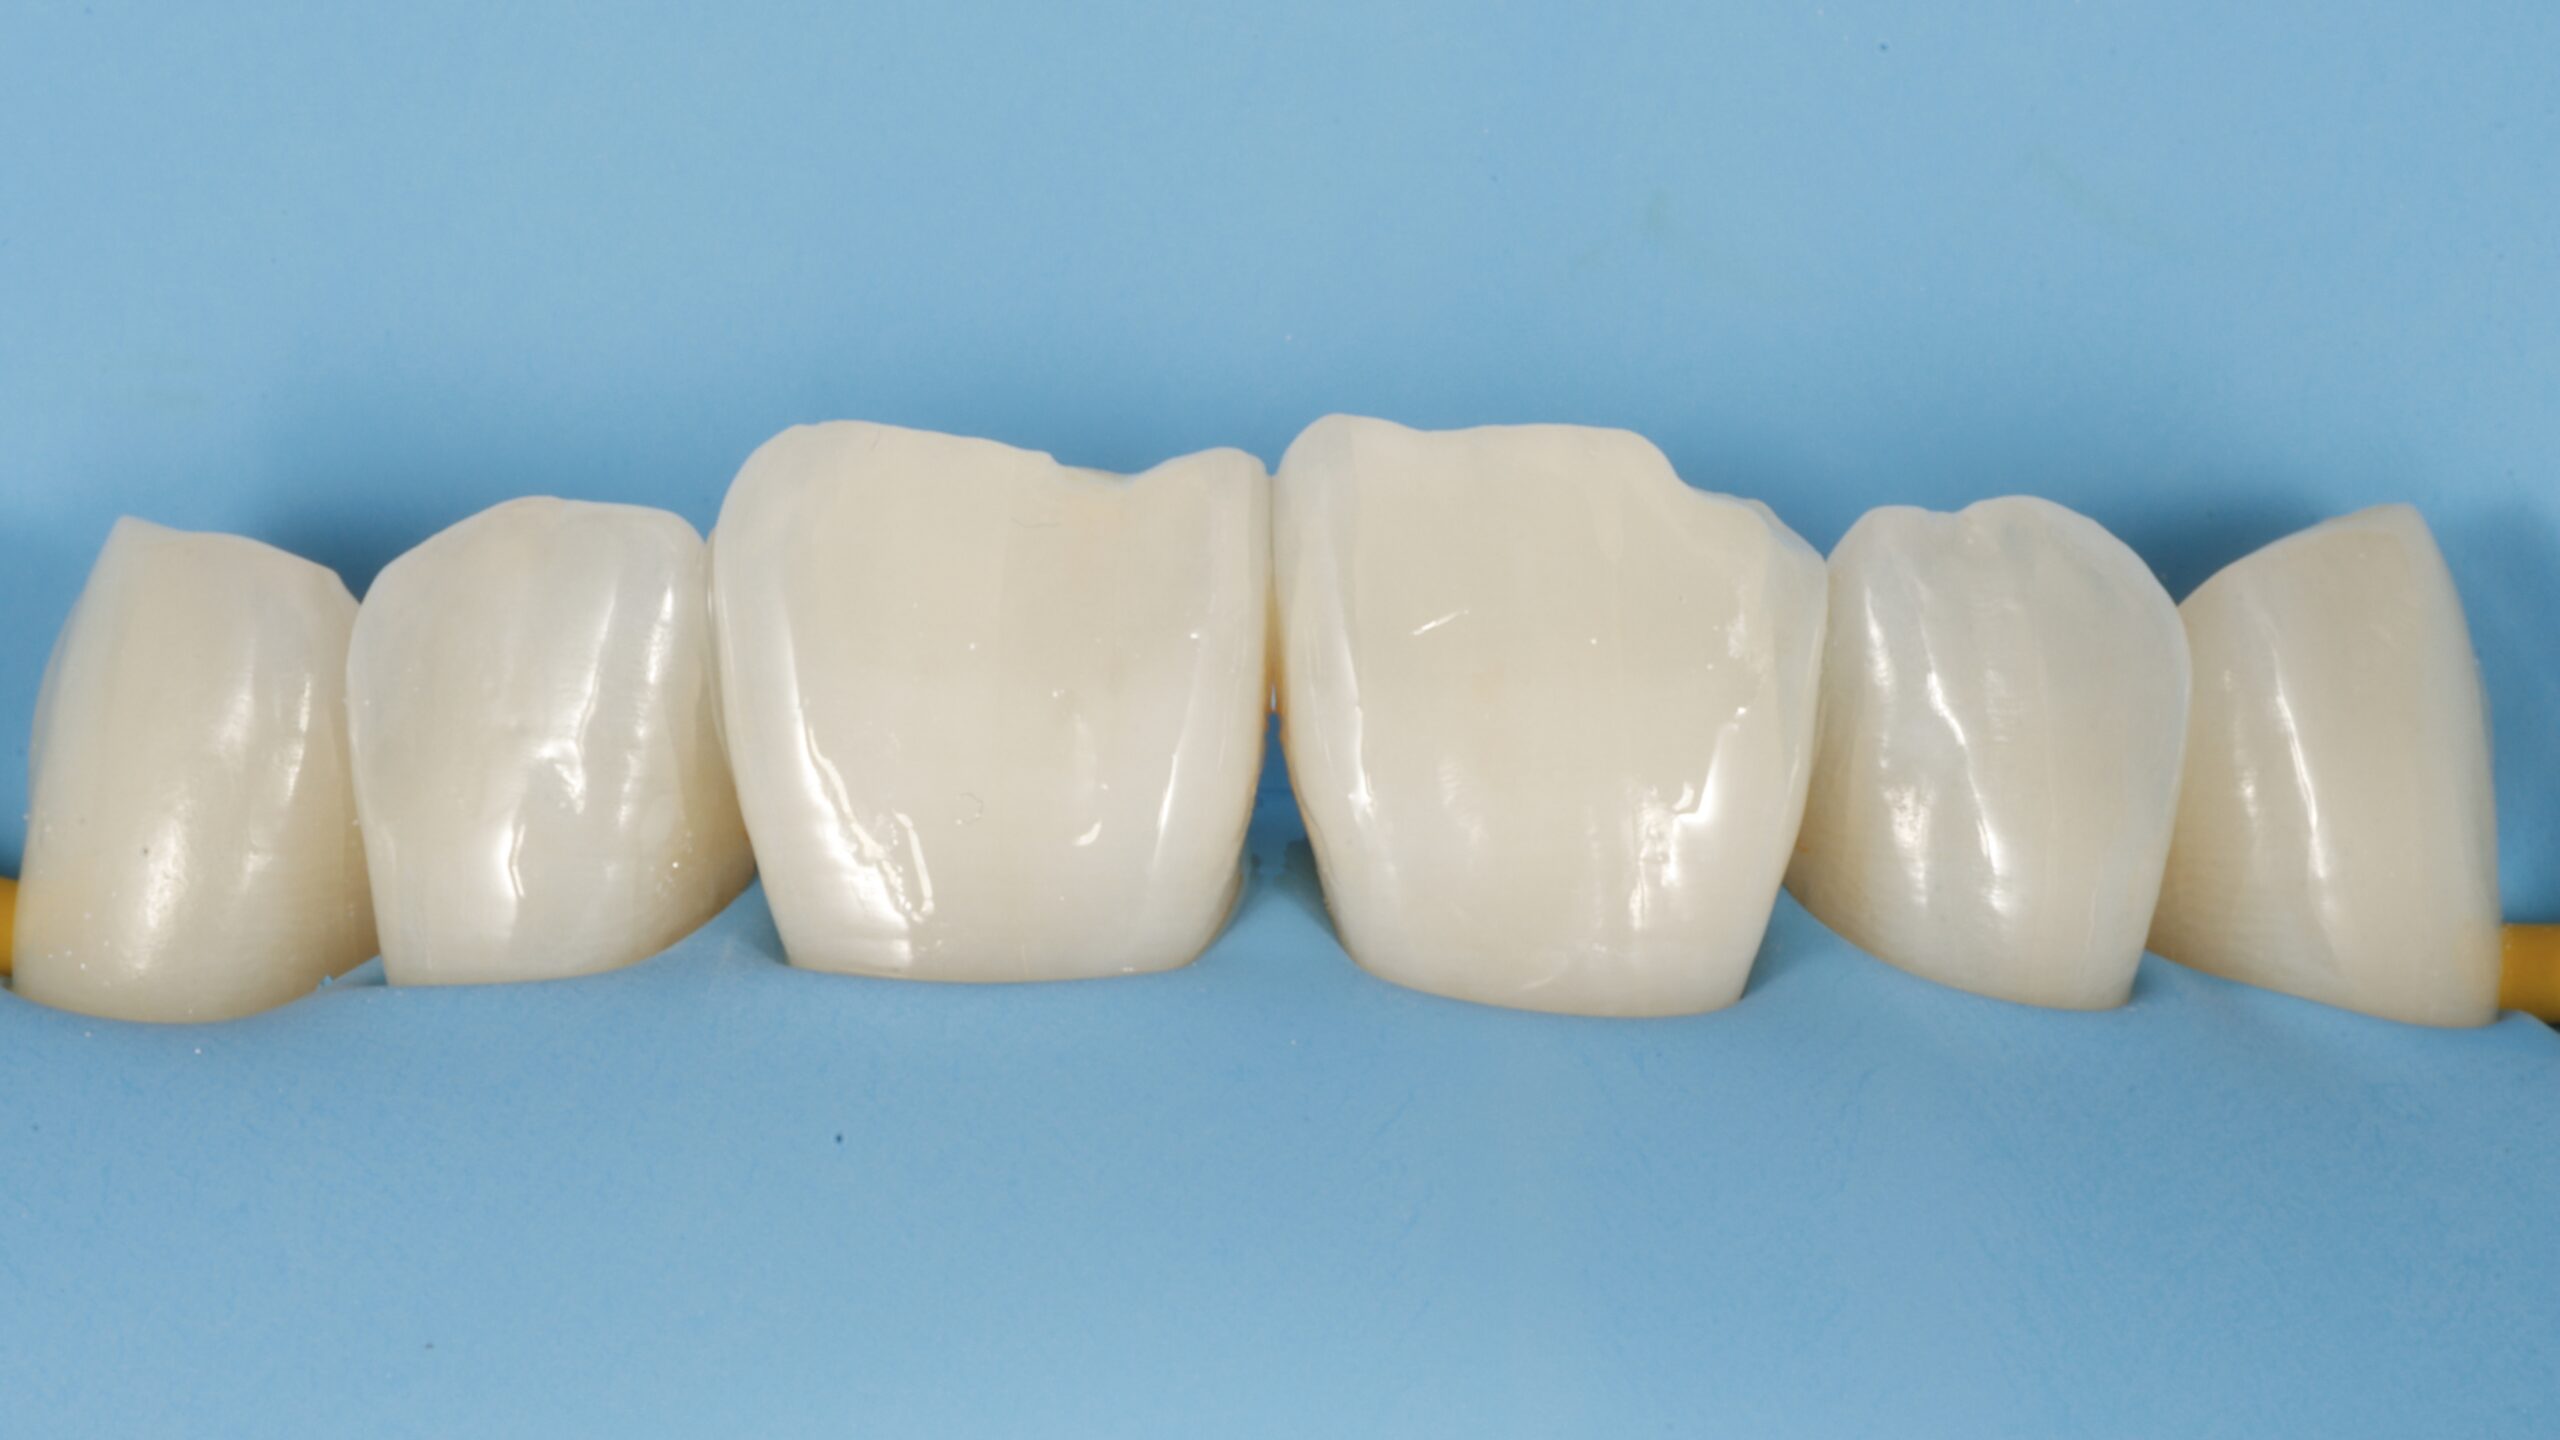
9 | The teeth are properly etched and adhesive is not noticeable. It is a great place to start.
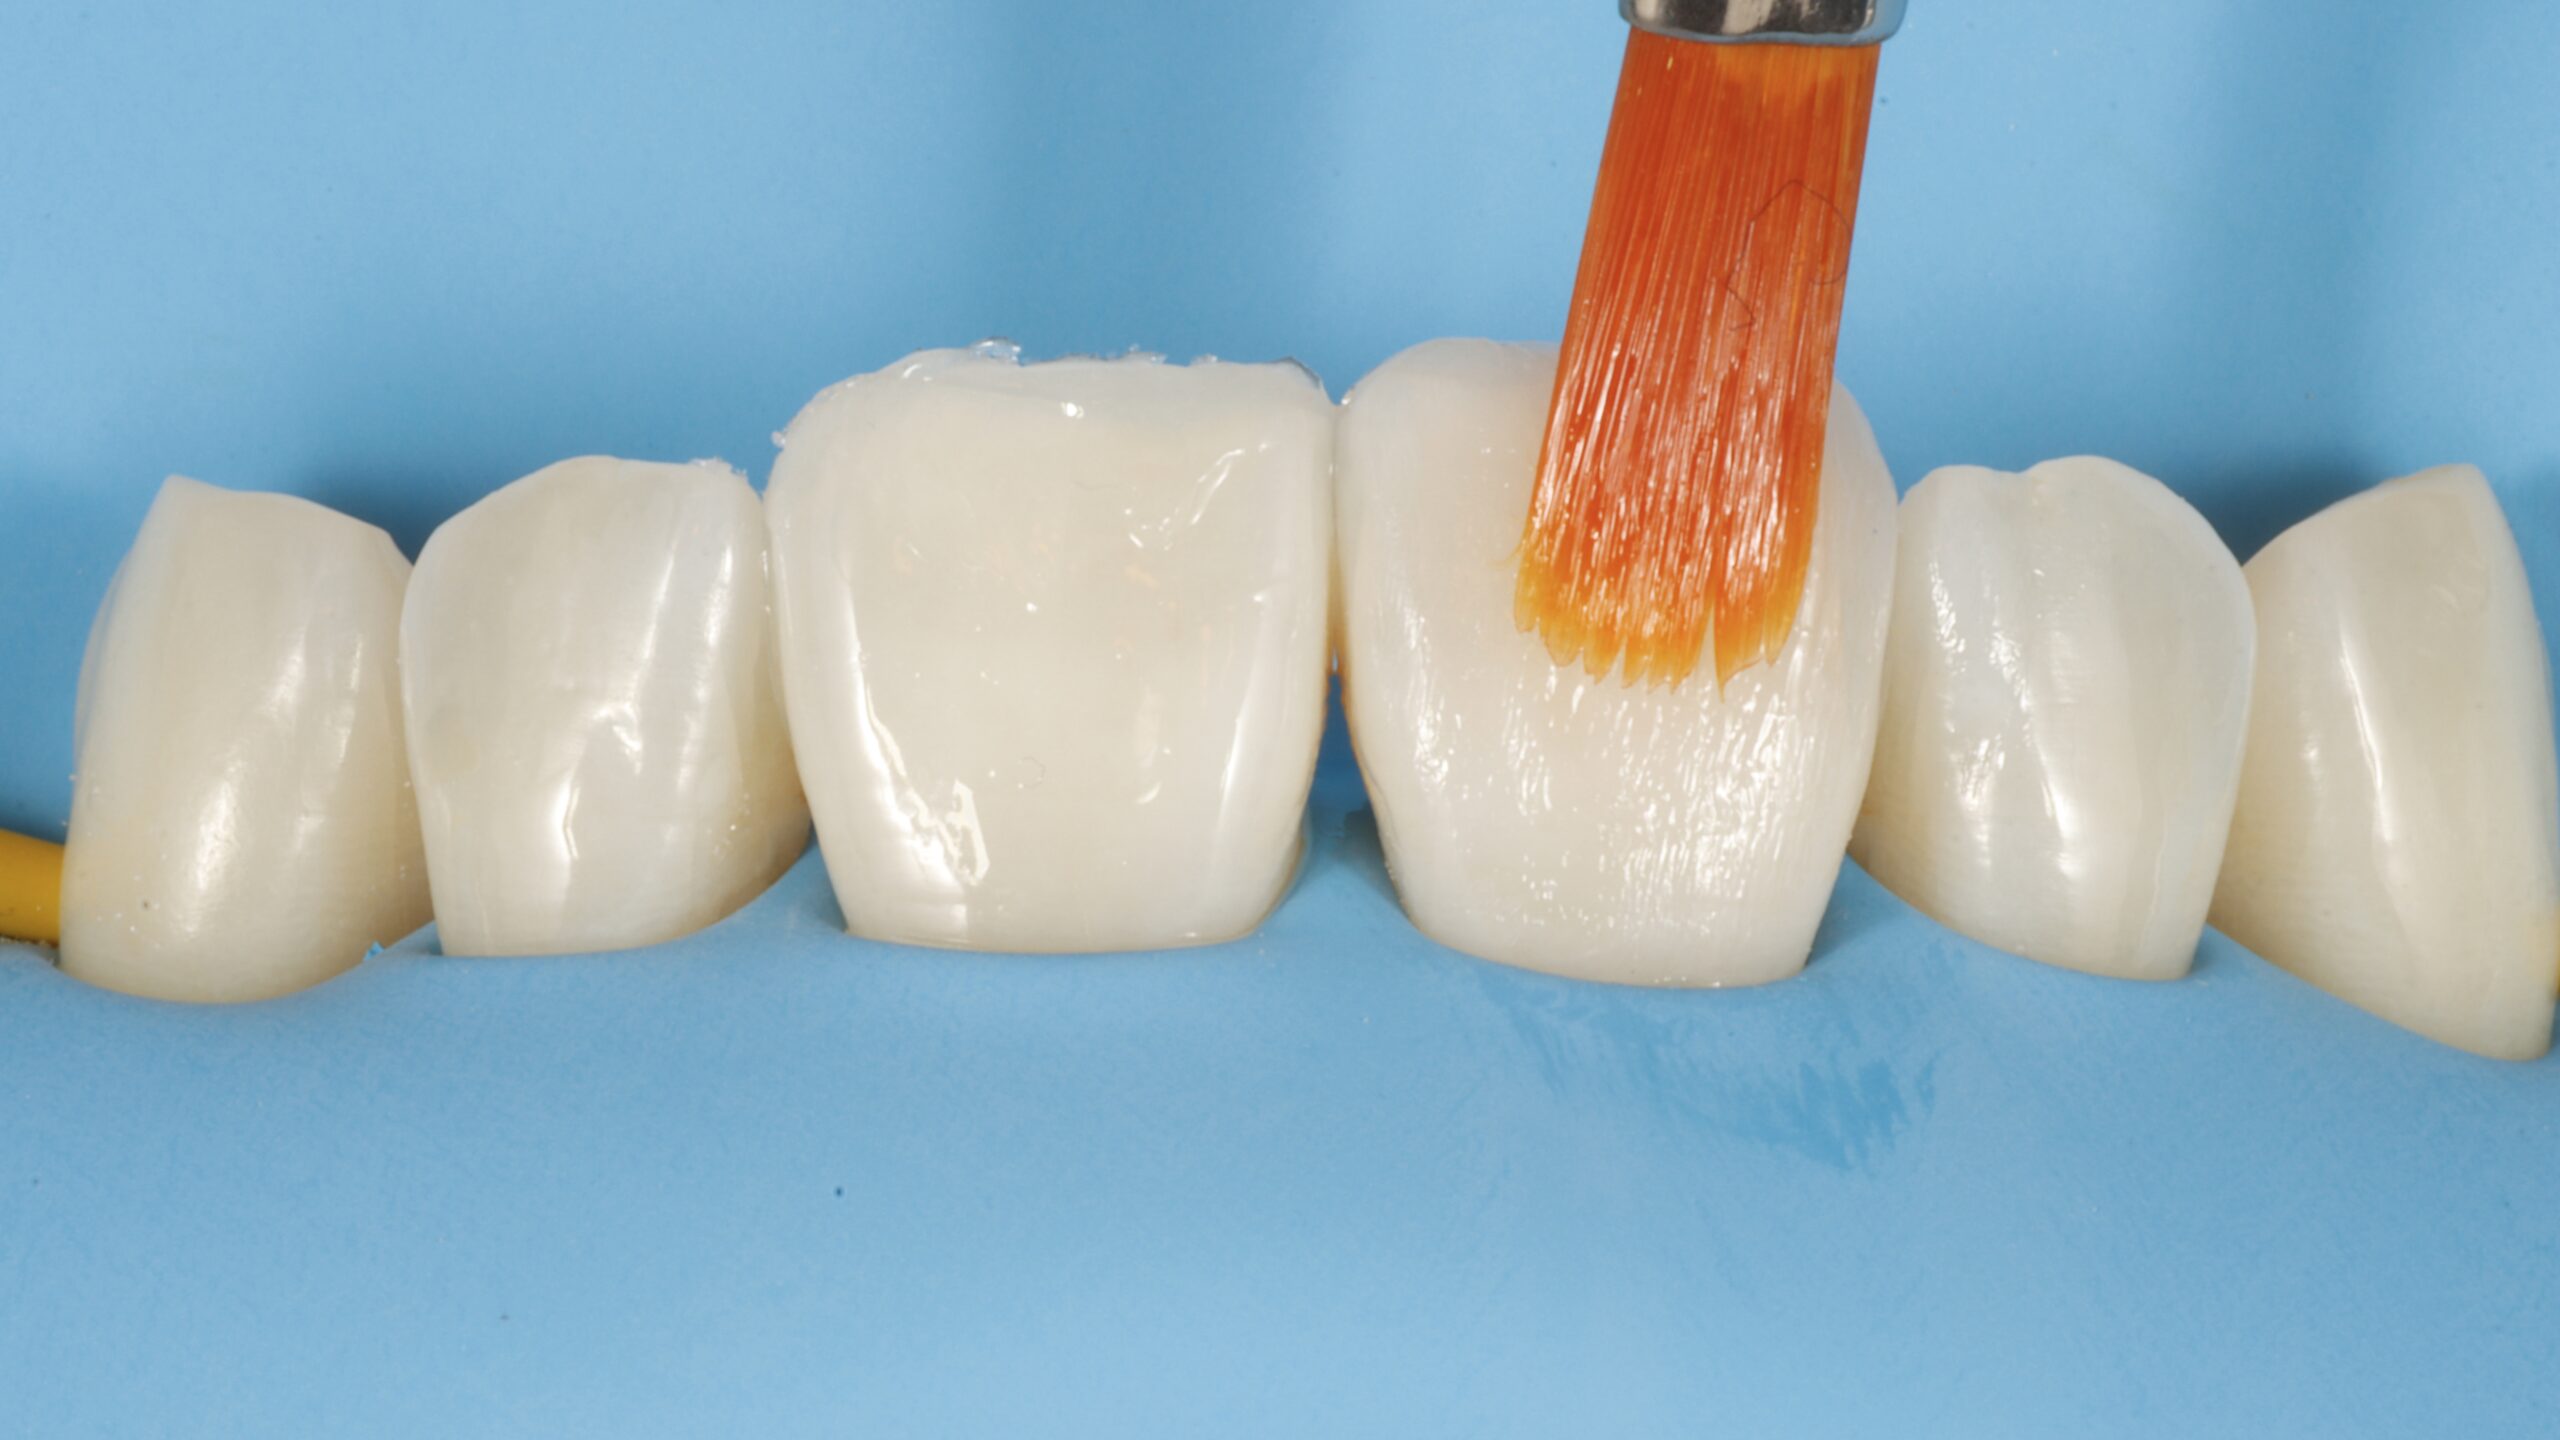
10 | Vittra APS Unique is a composite that’s more suitable to use with a brush than to use with a spatula
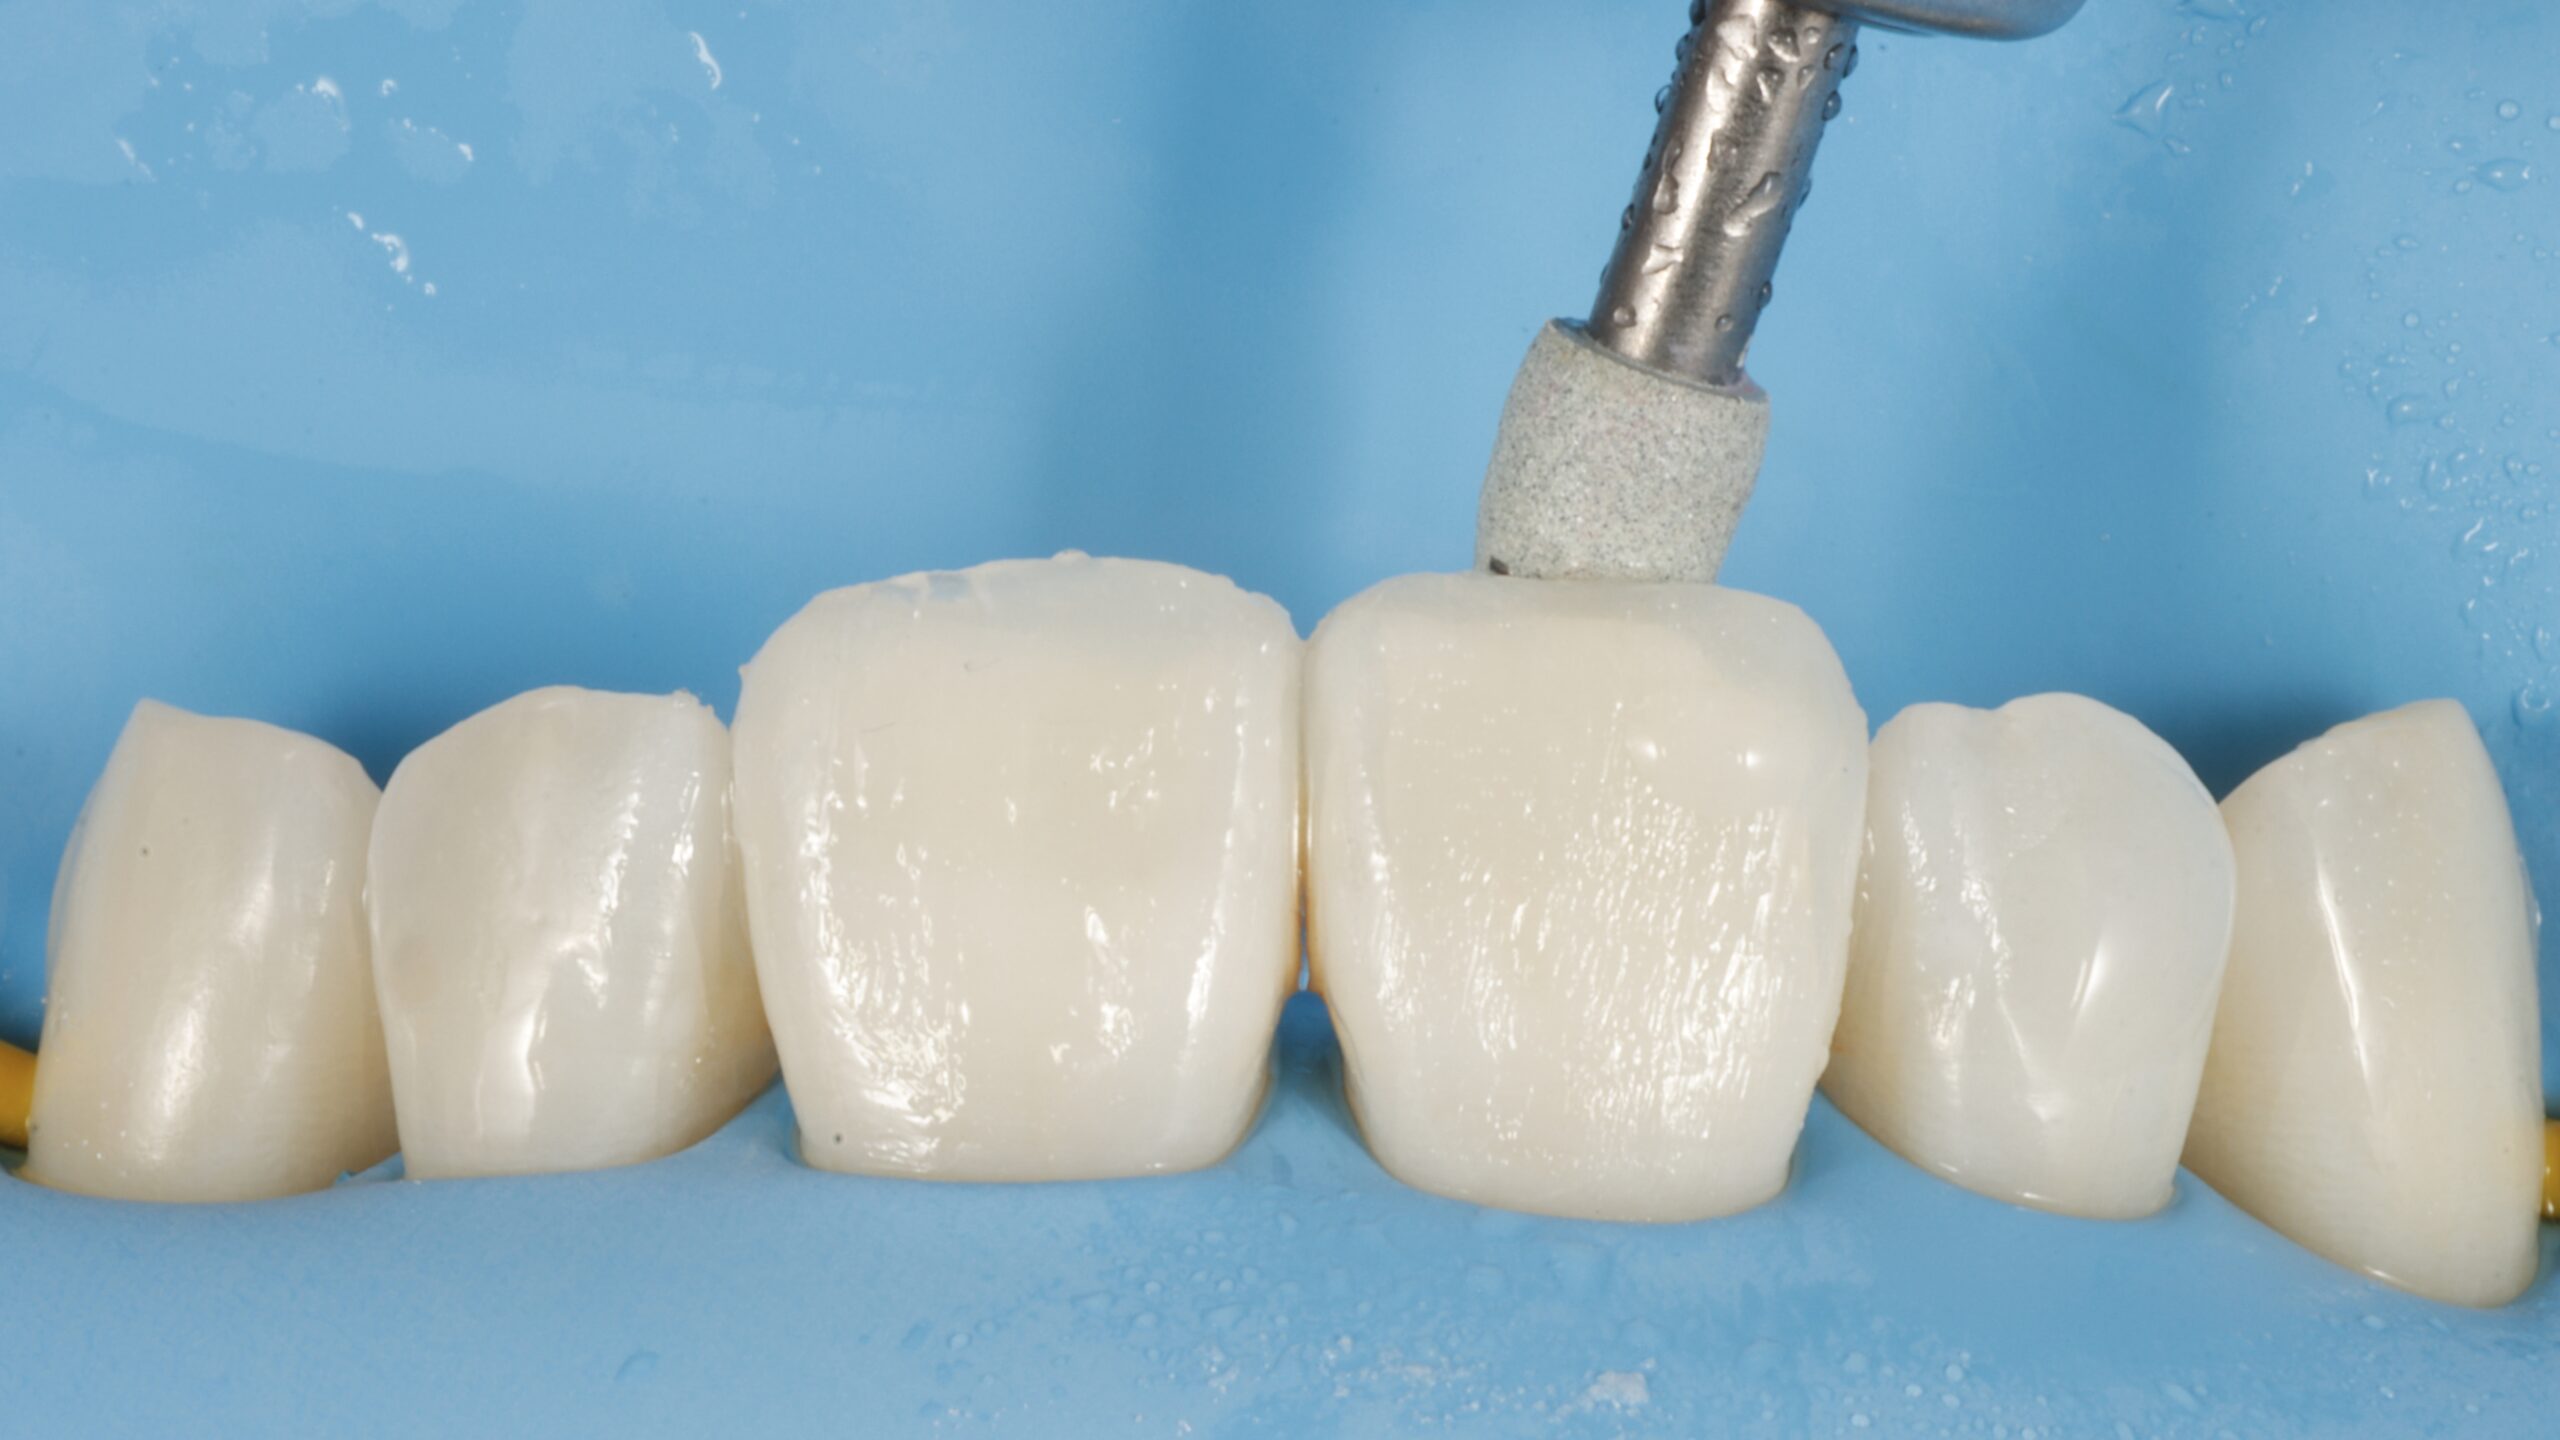
11 | After finishing, polishing starts, first the palatal phase.
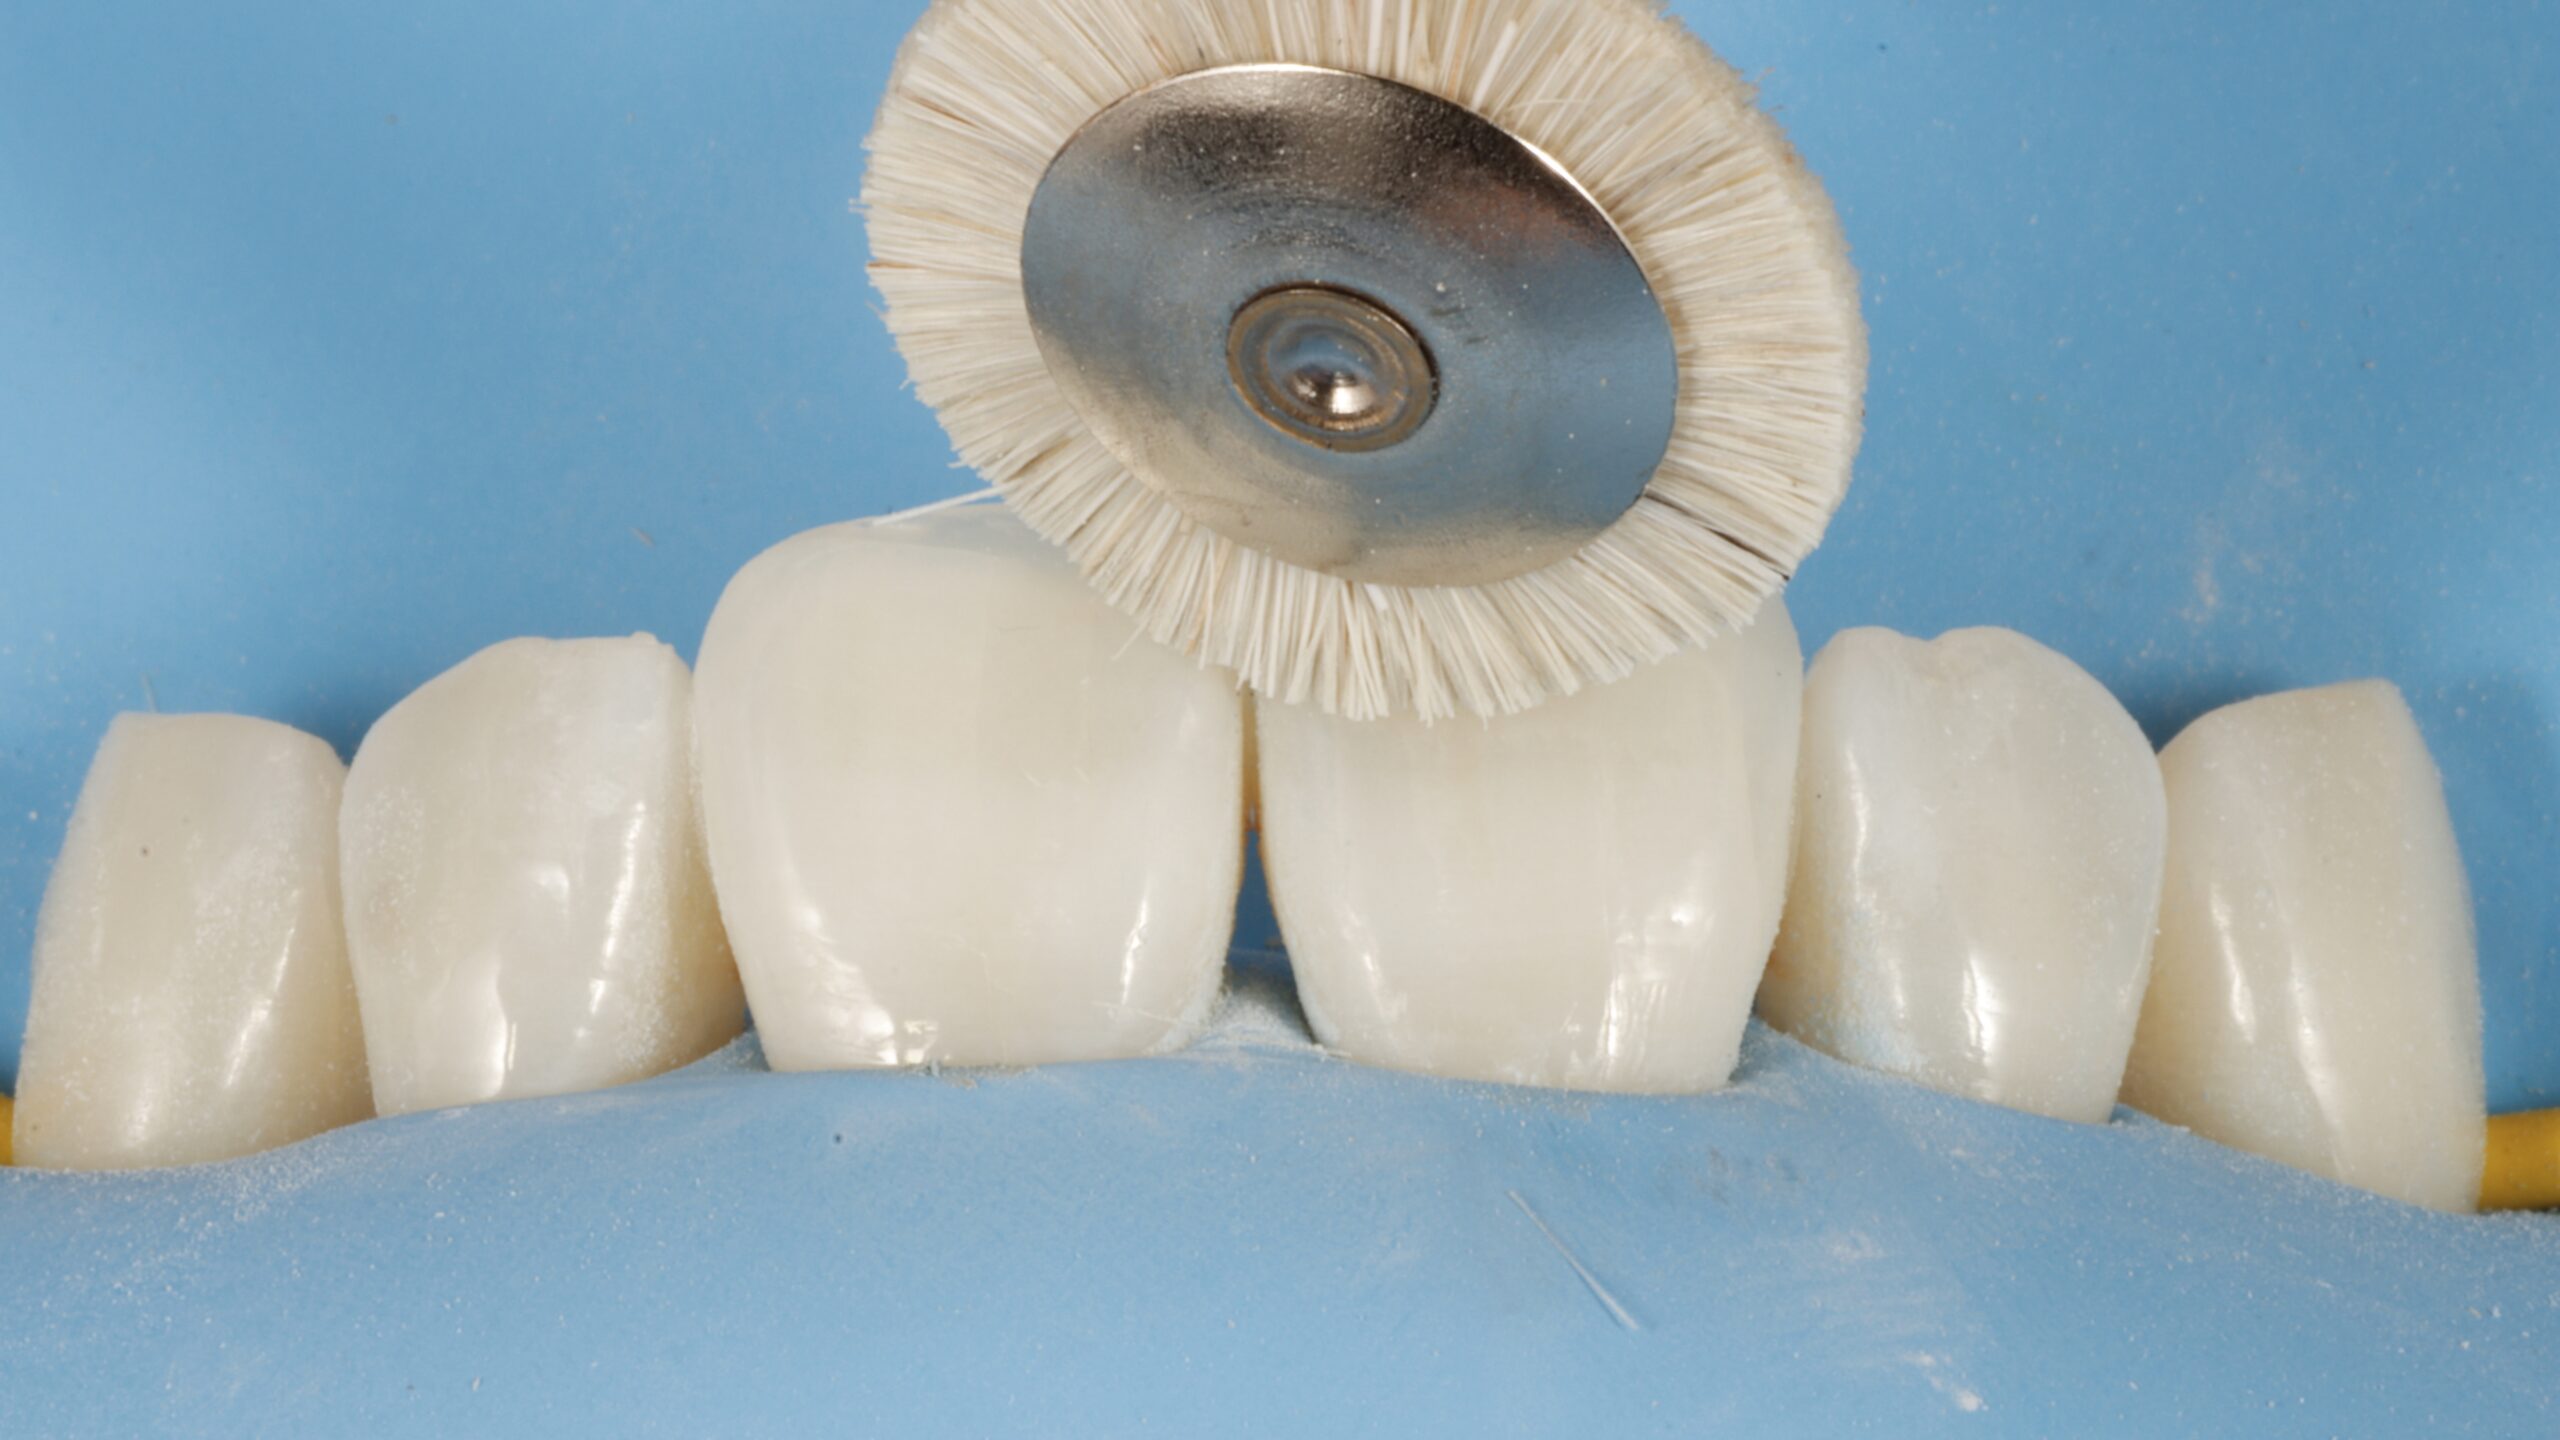
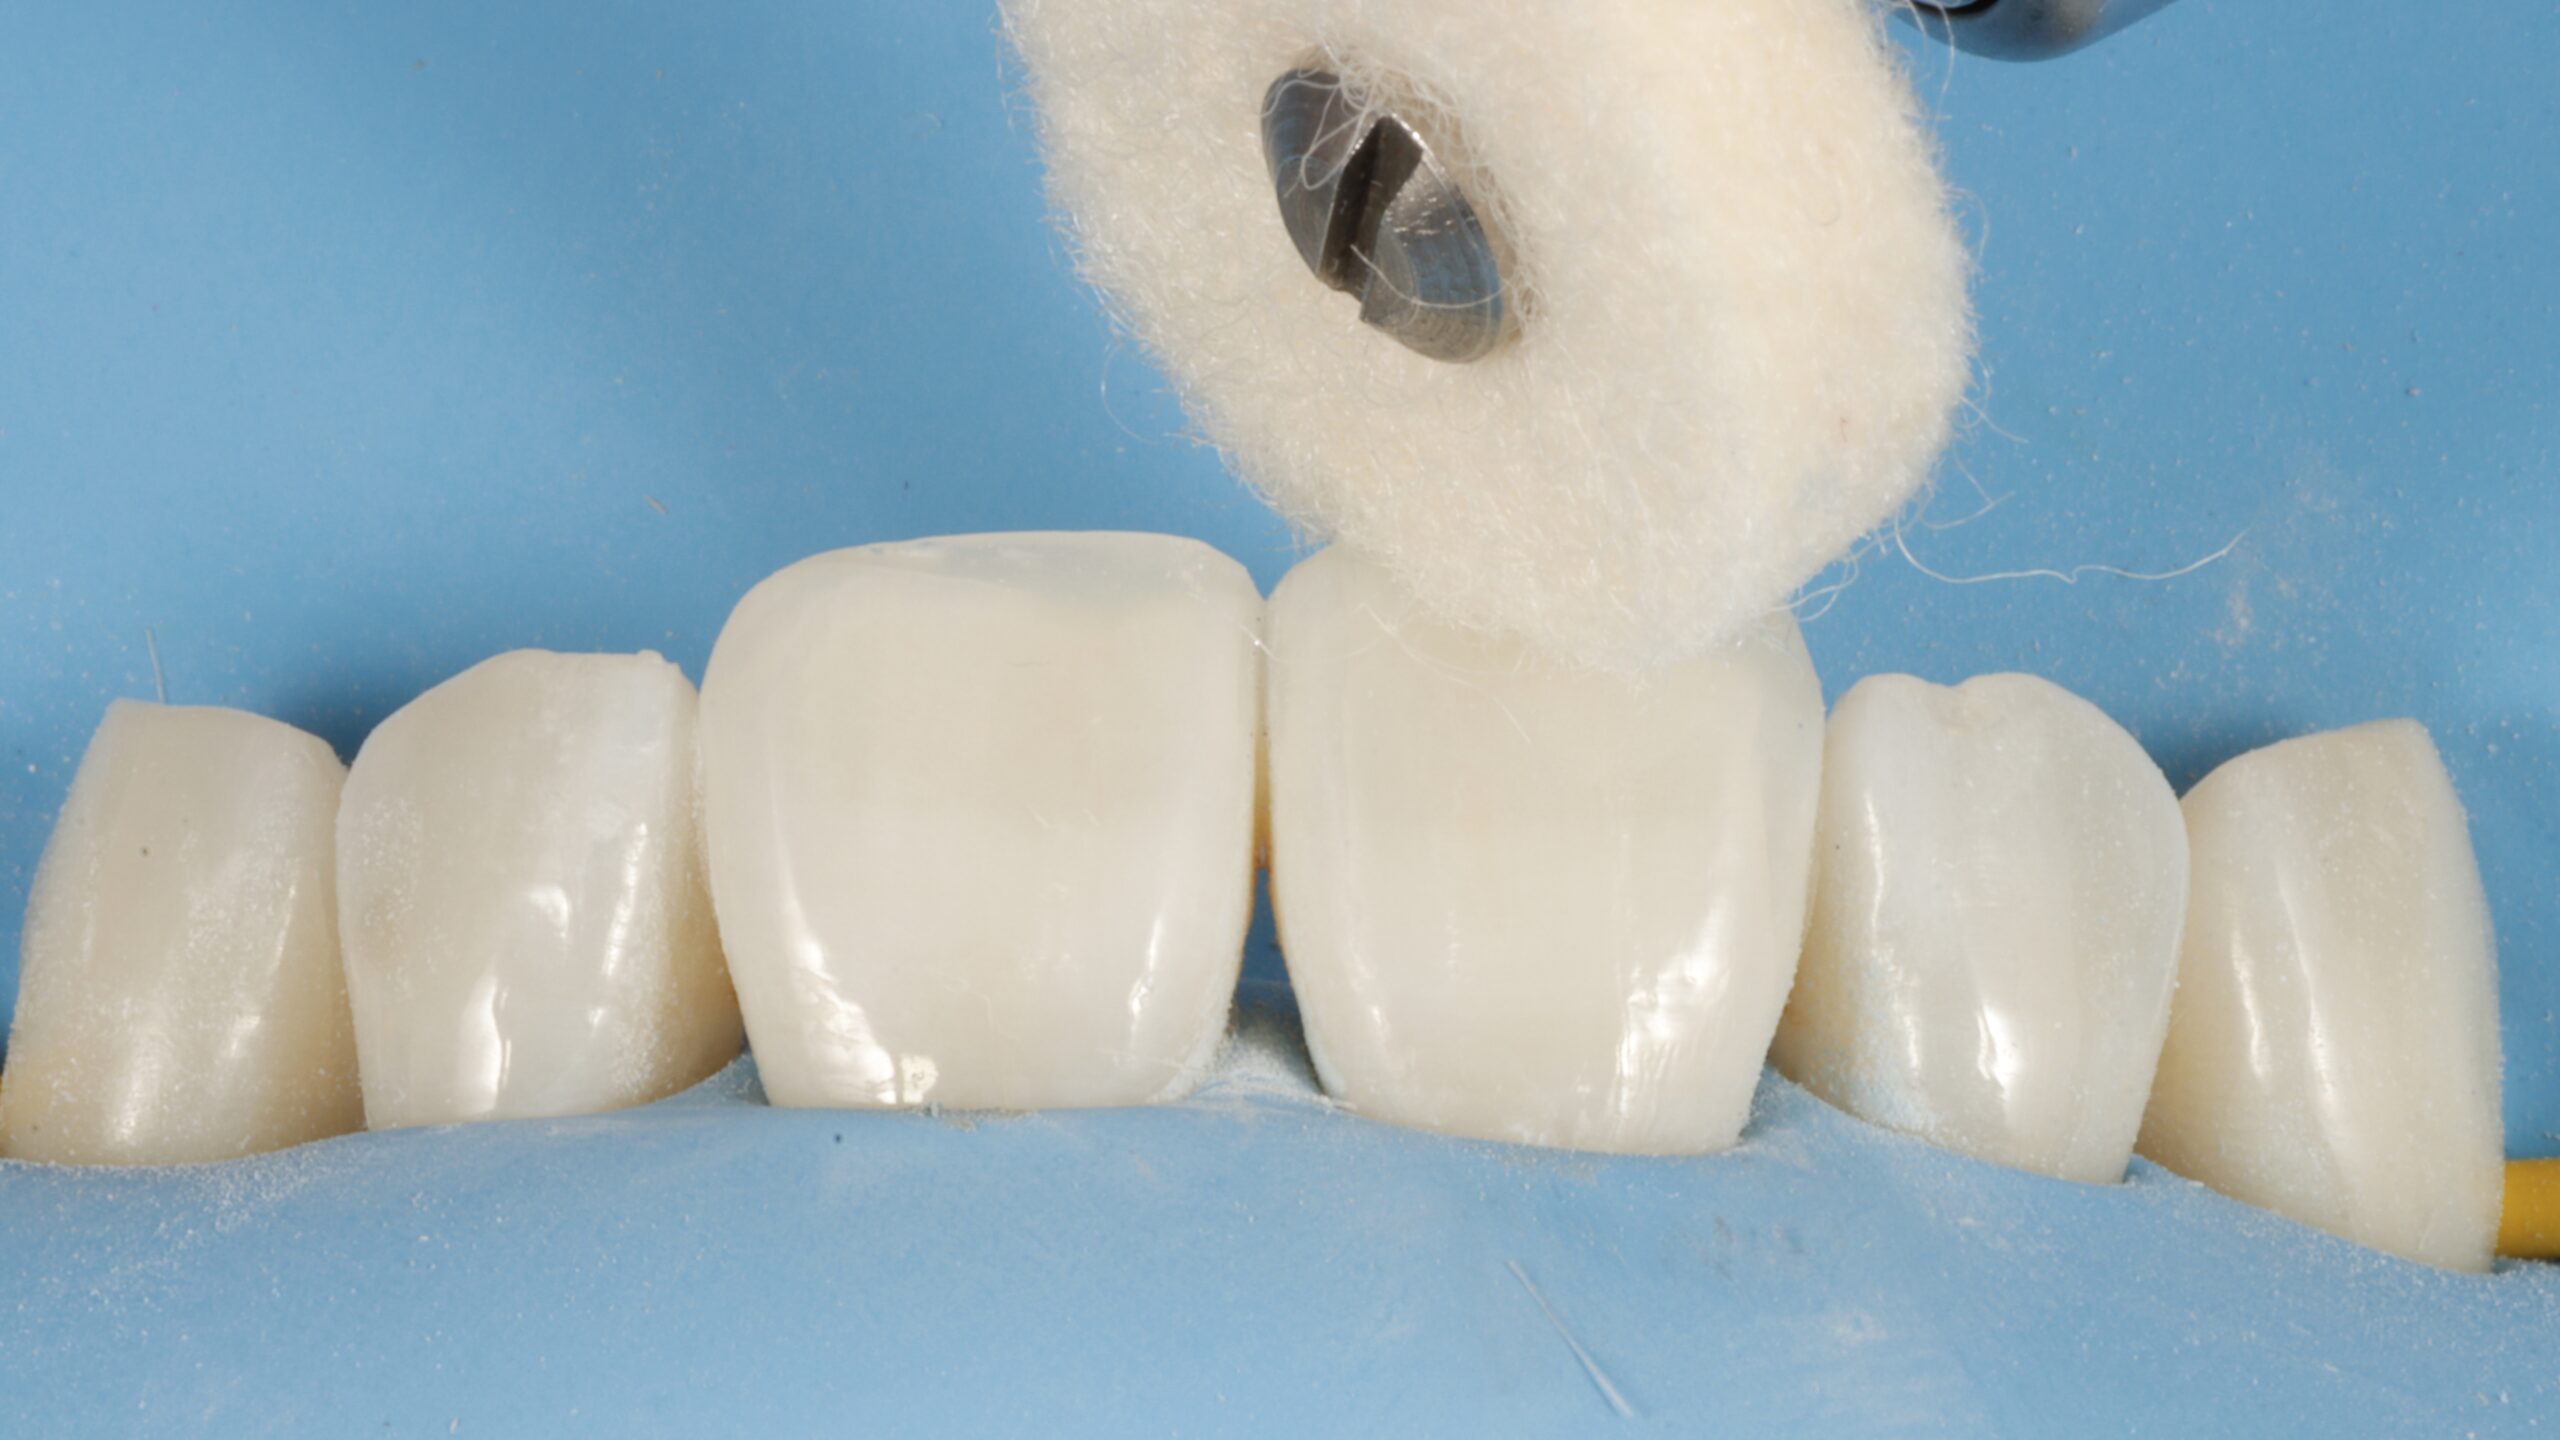
12 and 13 | Diferent steps of polishingand finishing of restorations in the buccal phase
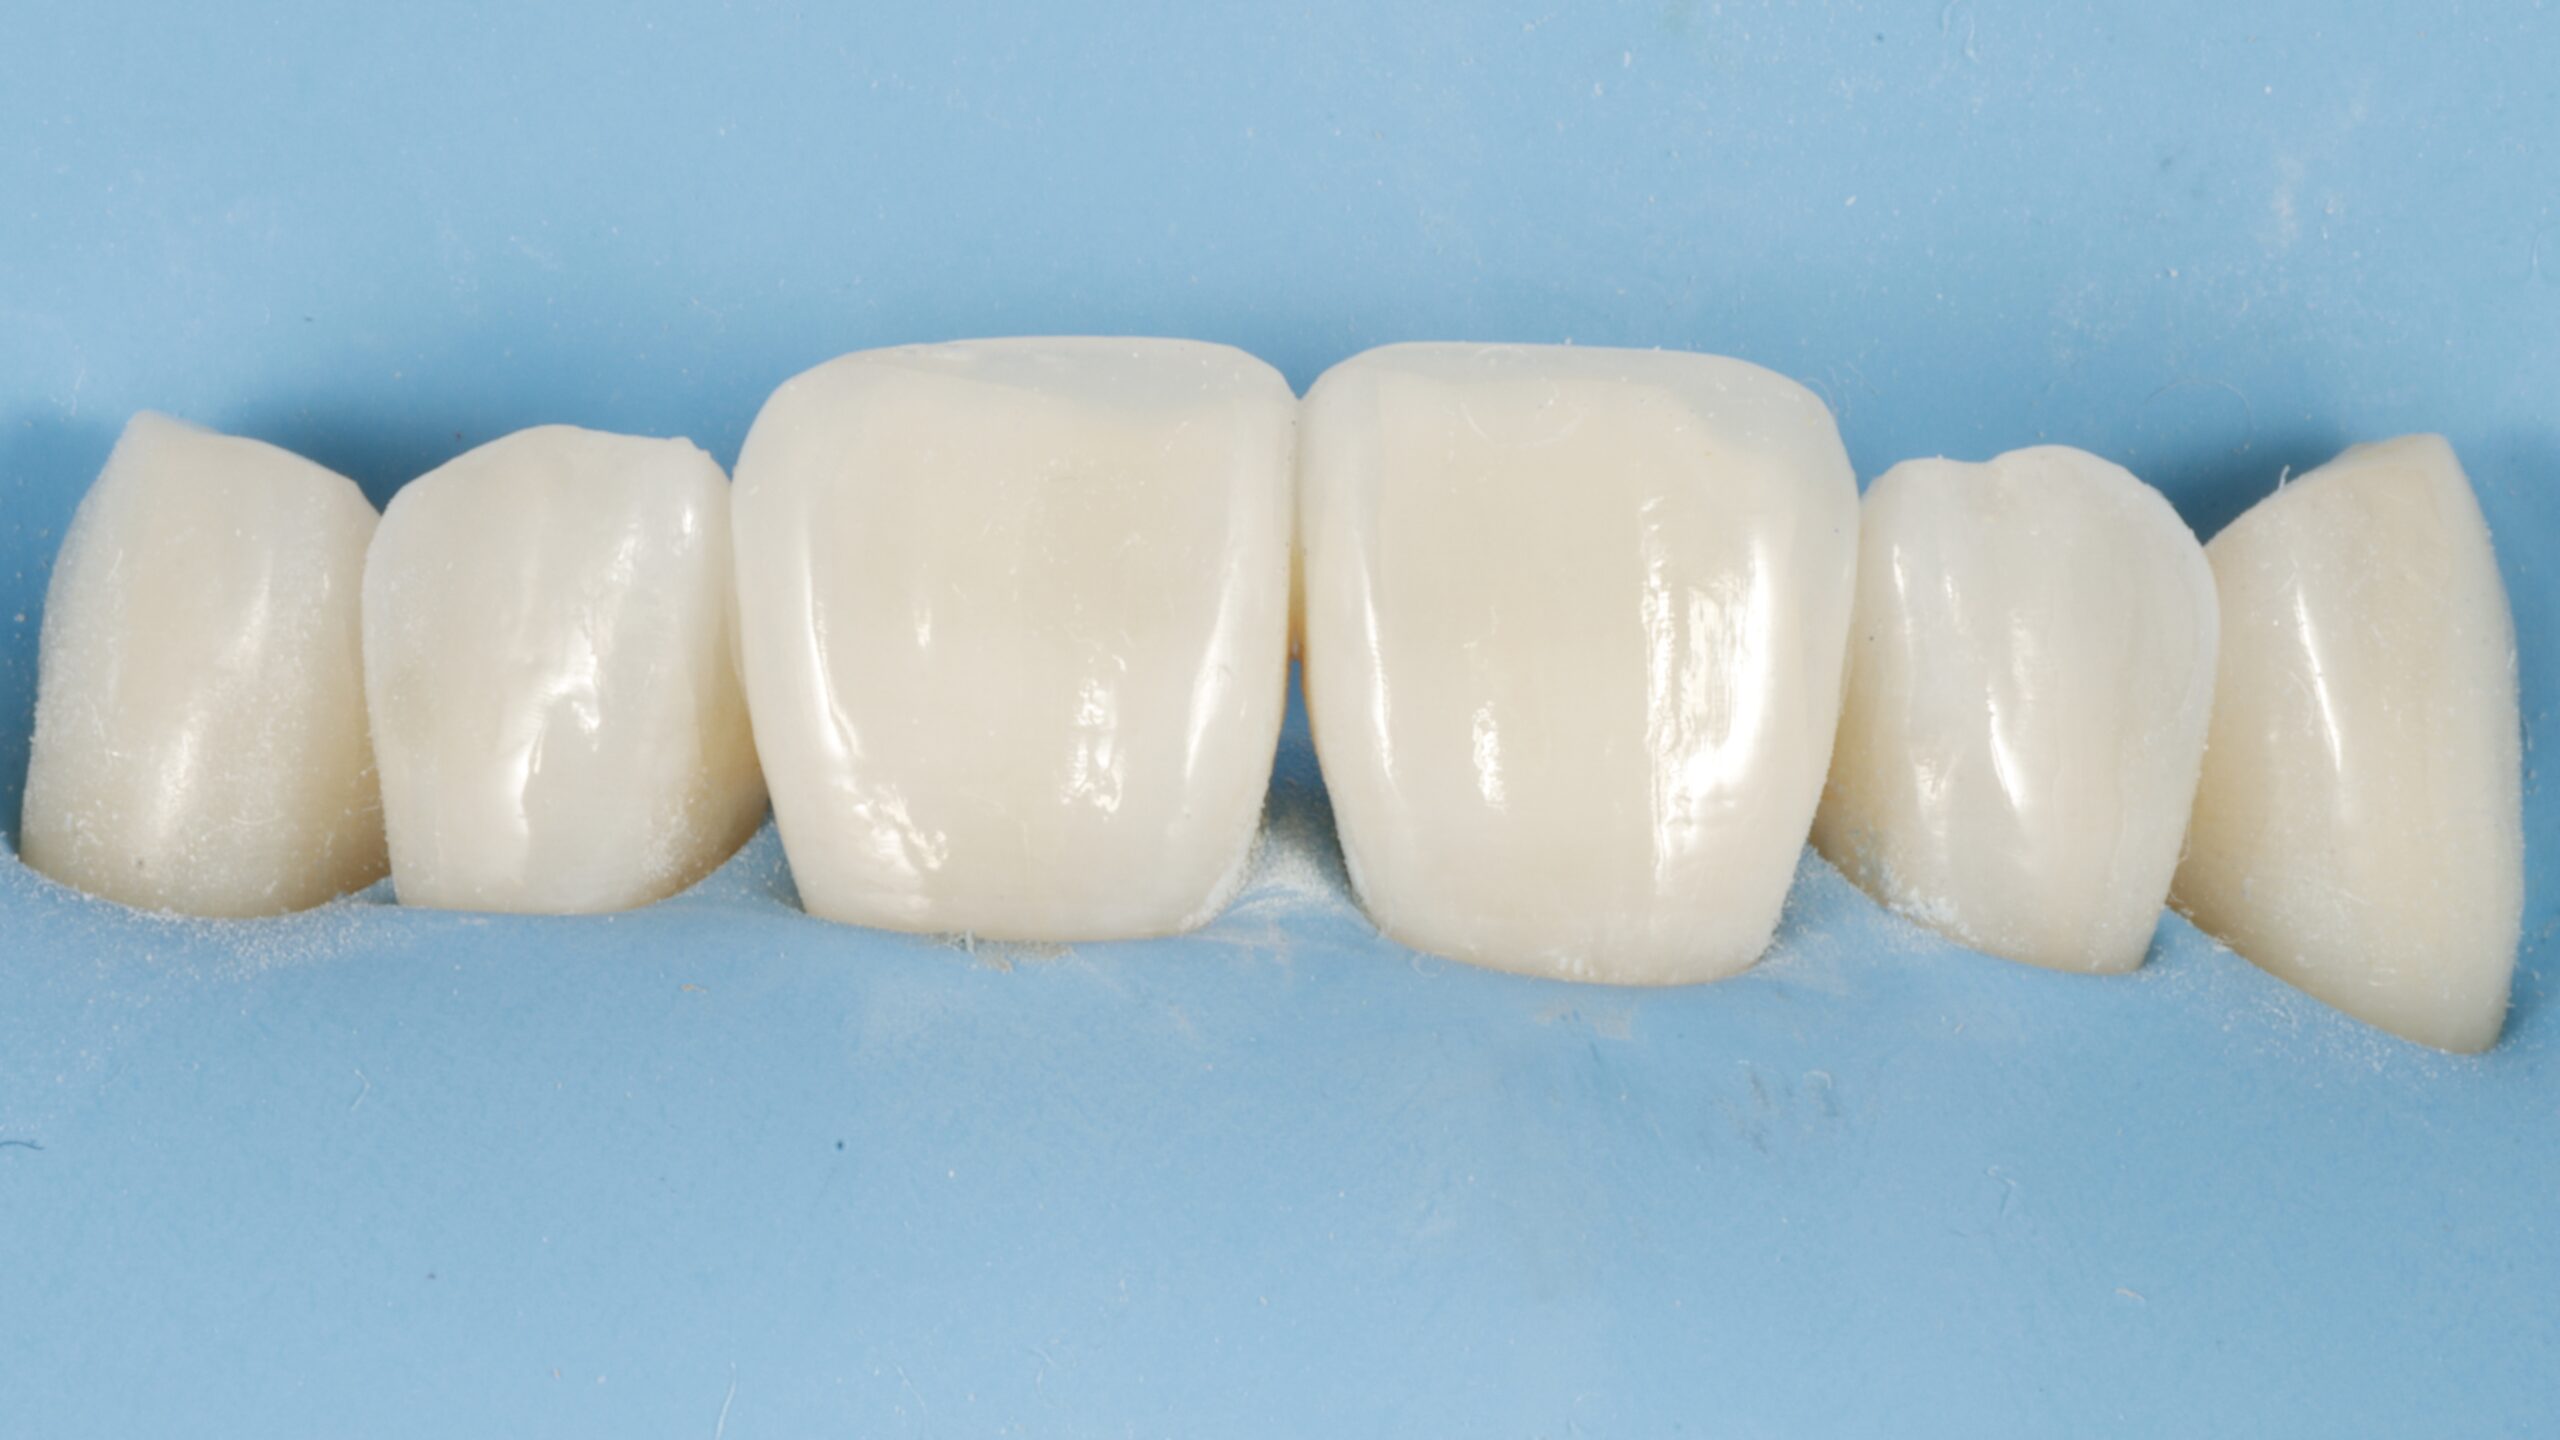
14 | With the restorations finished, the rubber dam can be removed.
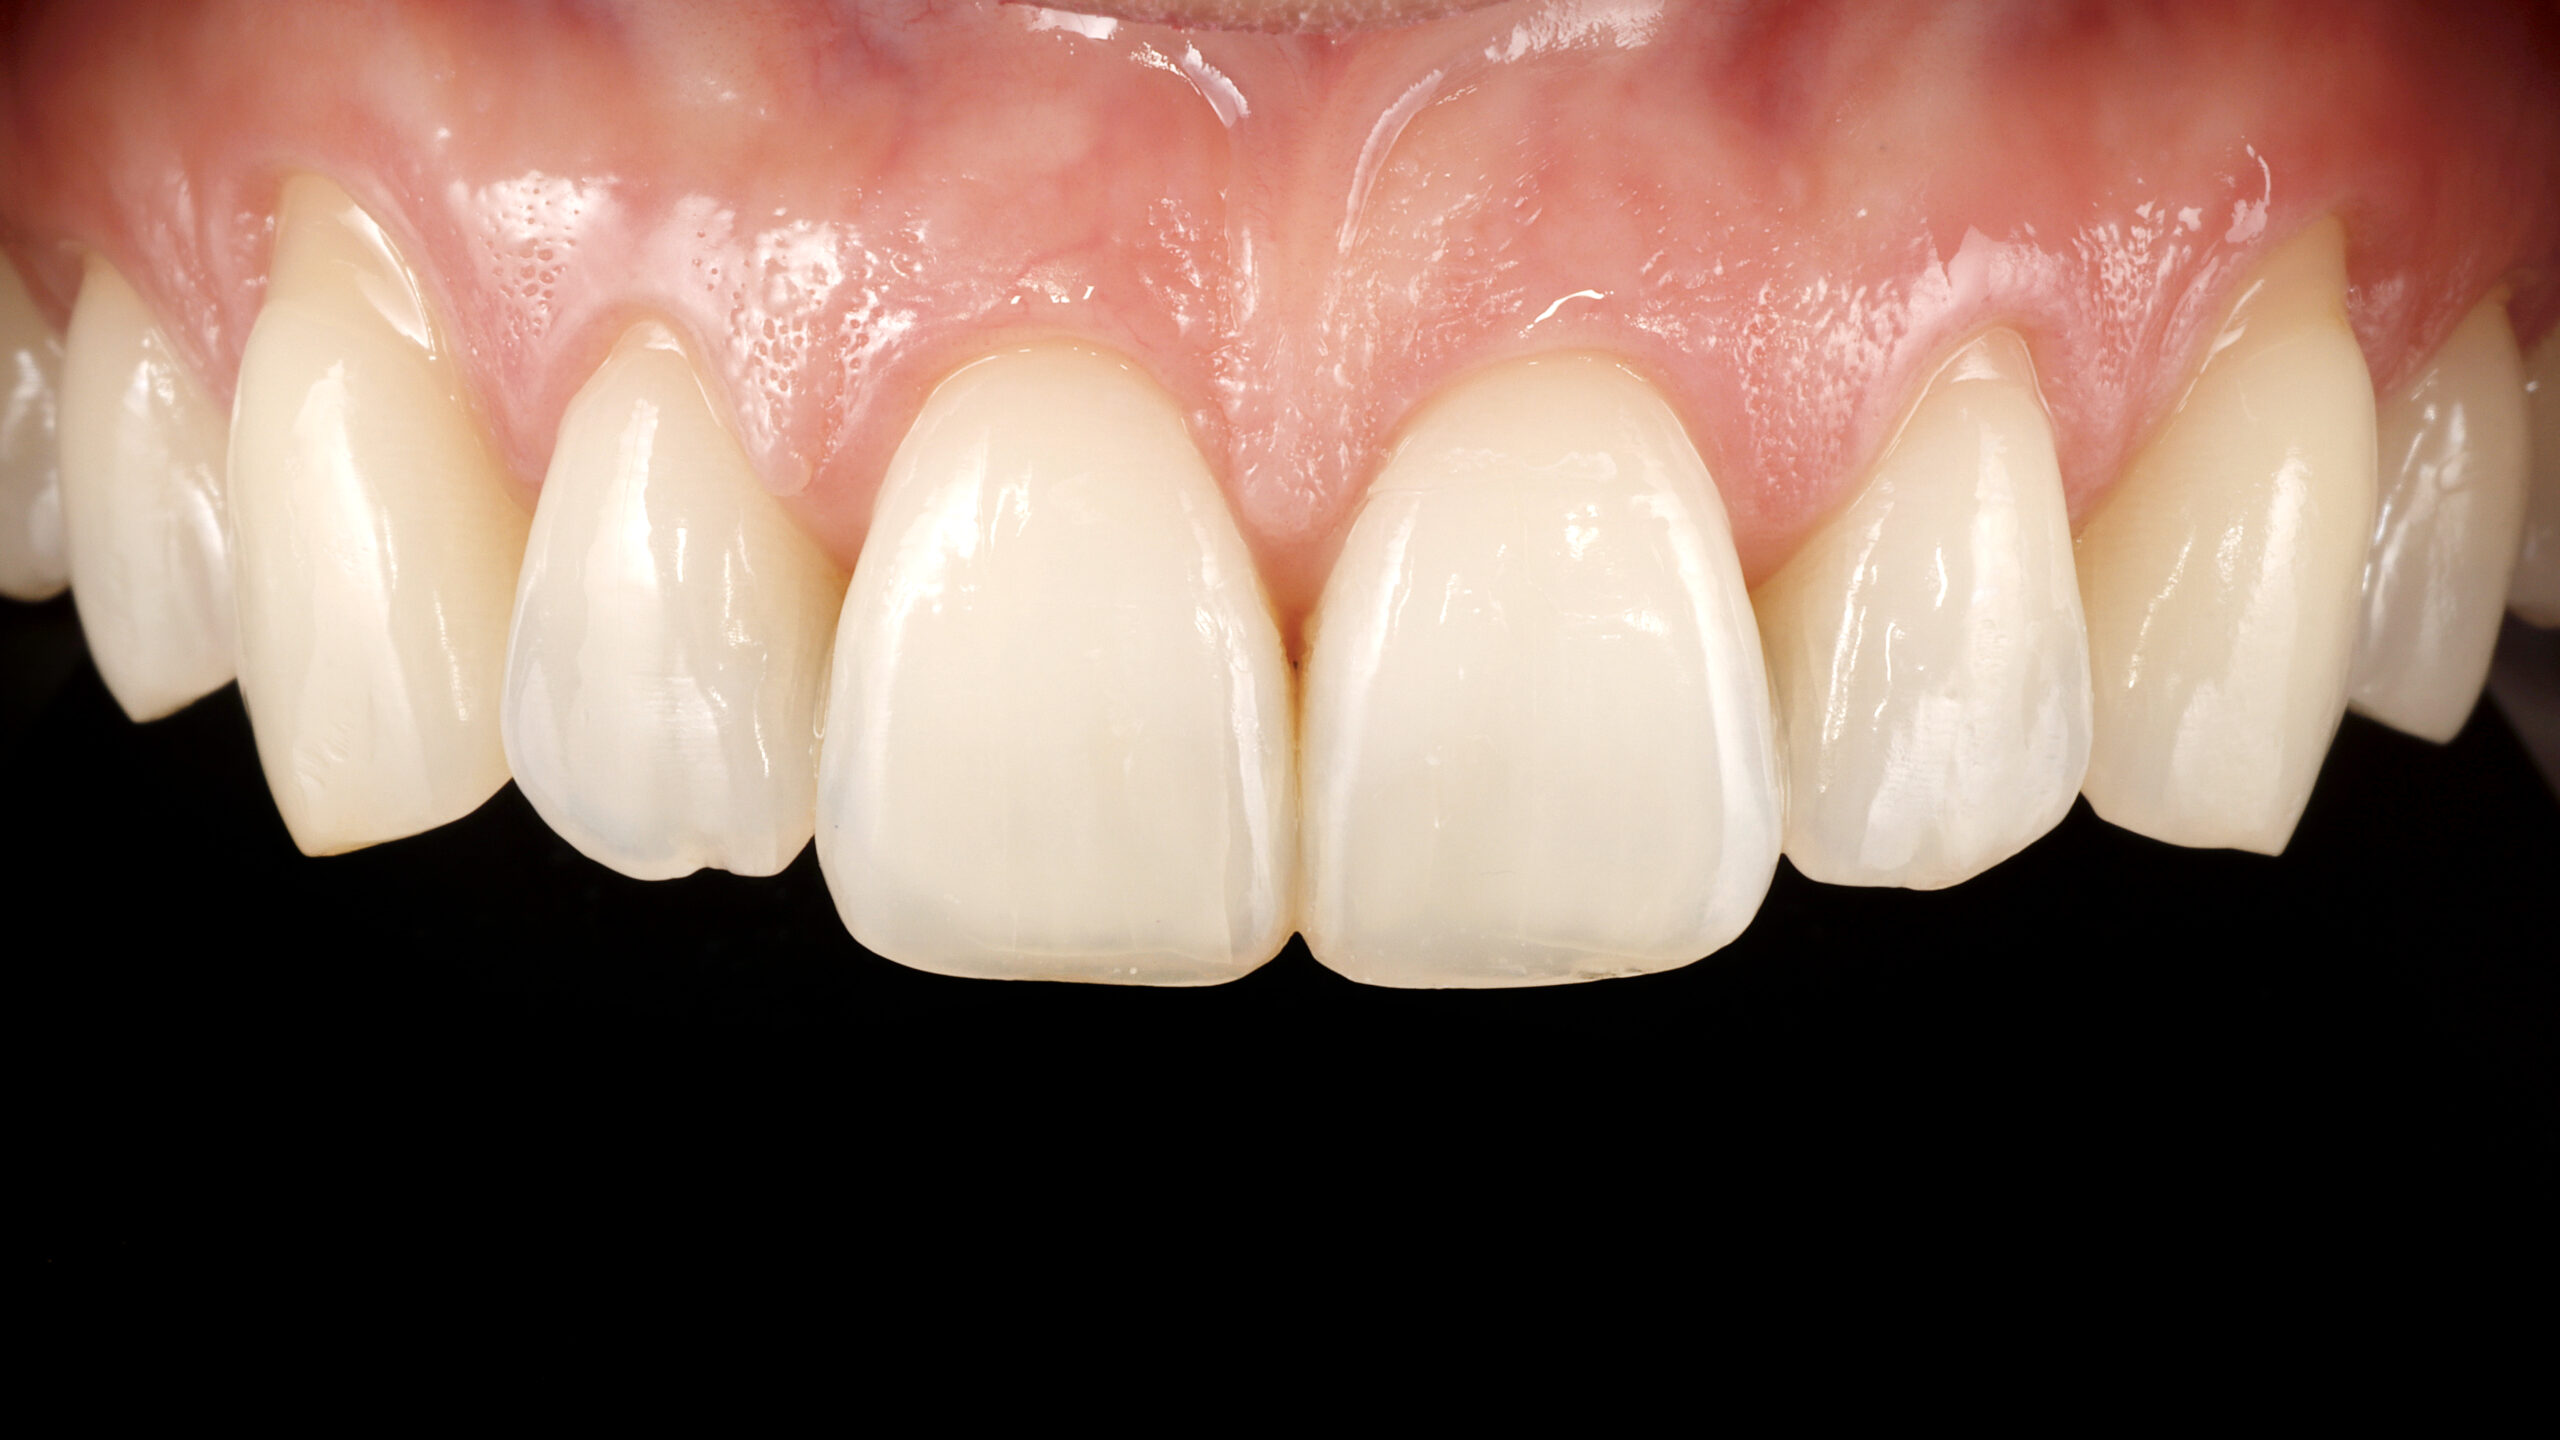
15 | Intraoral image of restorations completed 15 days later. Good mimicry is observed despite not having made any bevels
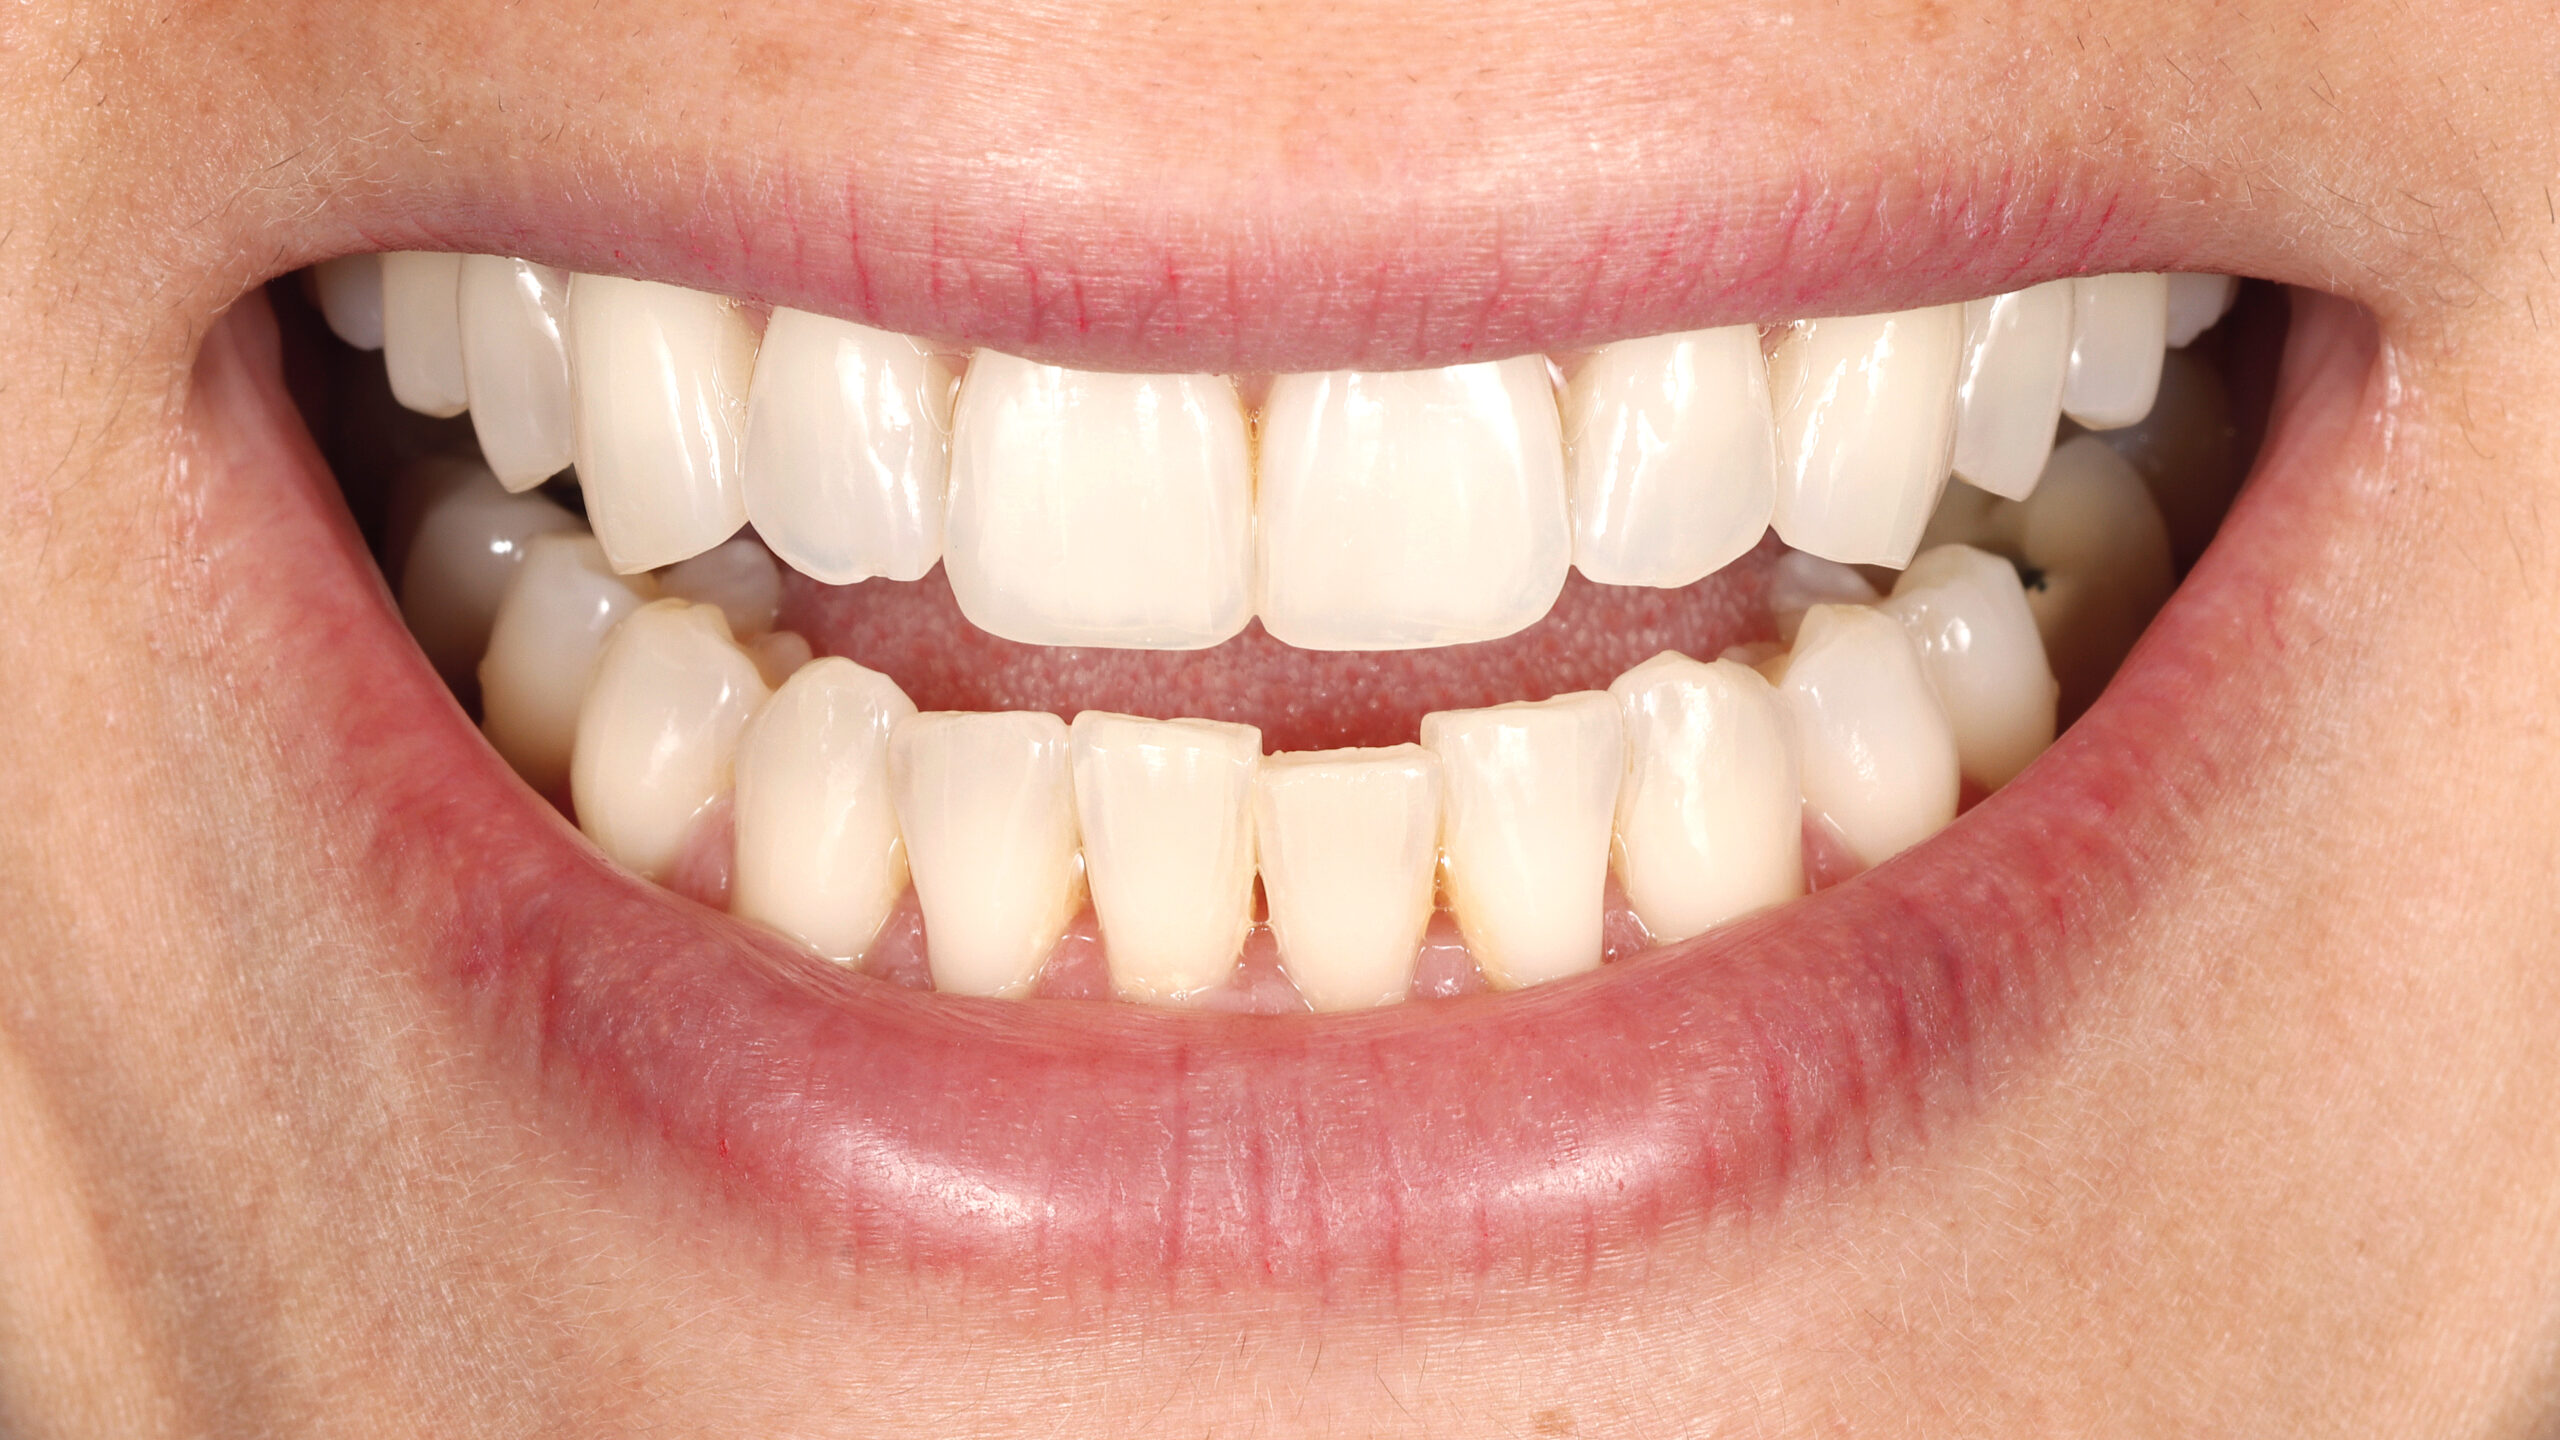
16 | Extraoral images of finished restorations.
Click here to see a step-by-step guide to Whiteness Perfect


